This guide takes a brand-new store from nothing to a working register. No technical background needed — if you can install an app and type a password, you can do all of it. Plan for about an hour, most of which is deciding where things go.
Before you start, have these ready
- Your CloudPos username and password (from your welcome email).
- A device for the register — a computer, tablet, or phone with an up-to-date browser, or a Windows / Android device.
- Wi-Fi or wired internet at the store.
- Any hardware you already own: receipt printer, kitchen printer, cash drawer, barcode scanner. None of it is required to start — you can ring orders with nothing but a screen and add hardware later.
Step 1 — Choose how each register runs
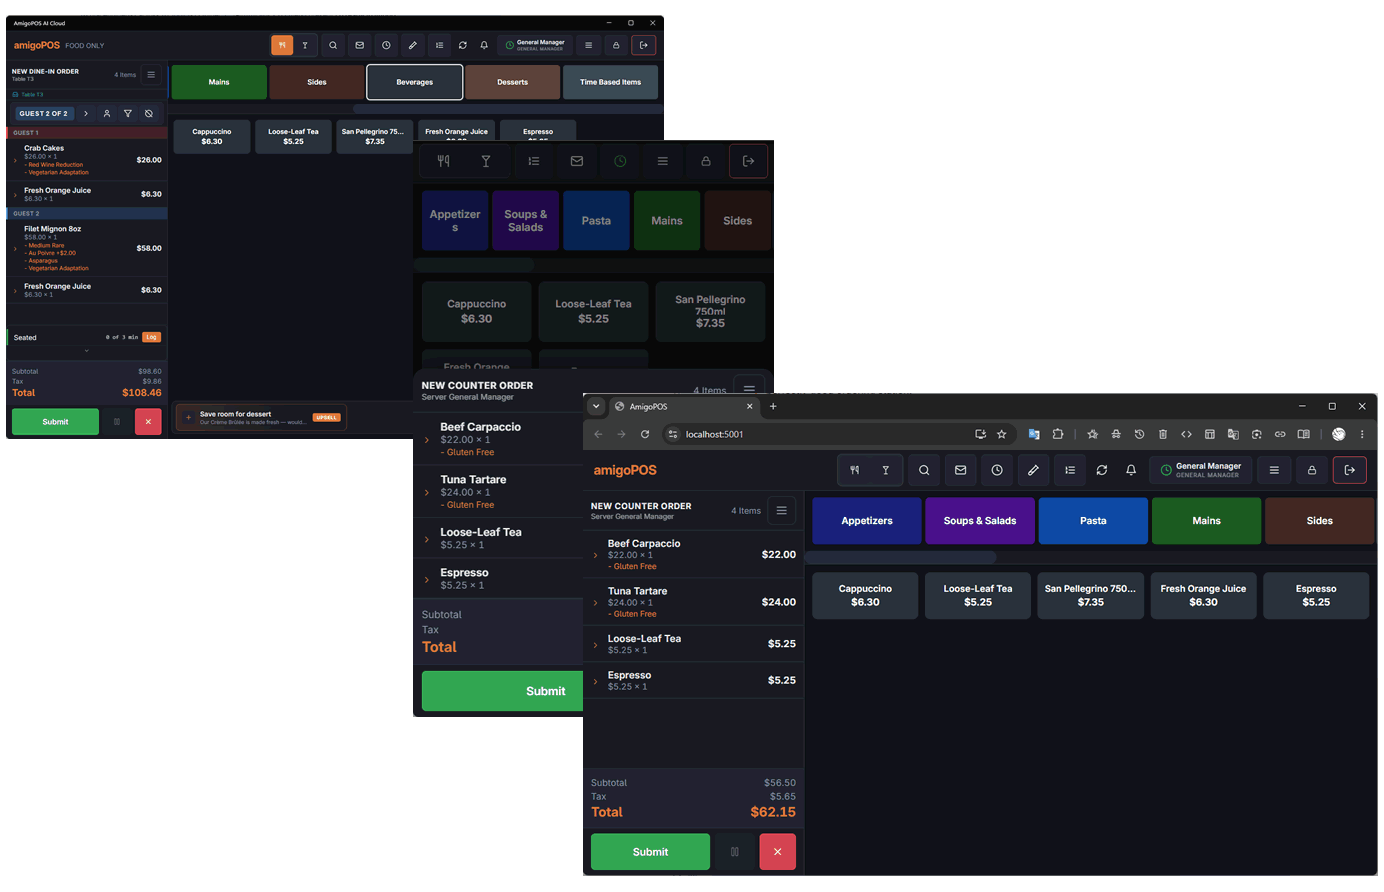
The register (the POS) runs three ways, and you can mix them freely across stations:
- In a browser (recommended for most stations) — nothing to install; open the web address, sign in, and you’re running. Updates apply themselves the next time the page reloads. Works on computers, tablets, and phones.
- As a Windows app or Android app — install these where the station uses hardware the browser can’t reach: a barcode scanner, or a receipt printer that must keep printing in offline mode (when the internet drops). If neither applies, the browser is the simpler choice.
Step 2 — Authorize your first device
Every device that runs CloudPos must be authorized once, so only your devices can reach your store’s data.
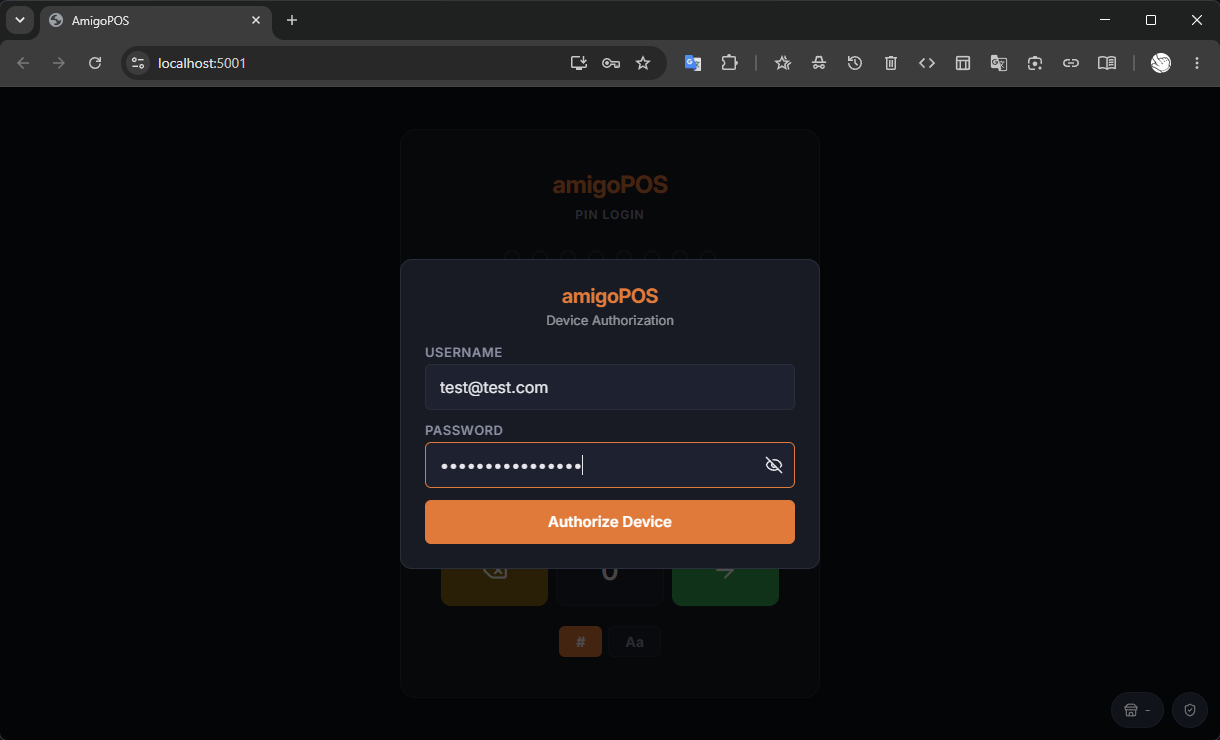
- On your first device, open the POS (browser address or installed app).
- Sign in with your username and password. This registers the device to your store.
- Give the device a name you’ll recognize — “Front Counter”, “Bar iPad”. Names show up in reports and settings, so pick names your staff would use out loud.
Step 3 — Add the rest of your devices with a short code
You don’t type the password on every station. Instead:
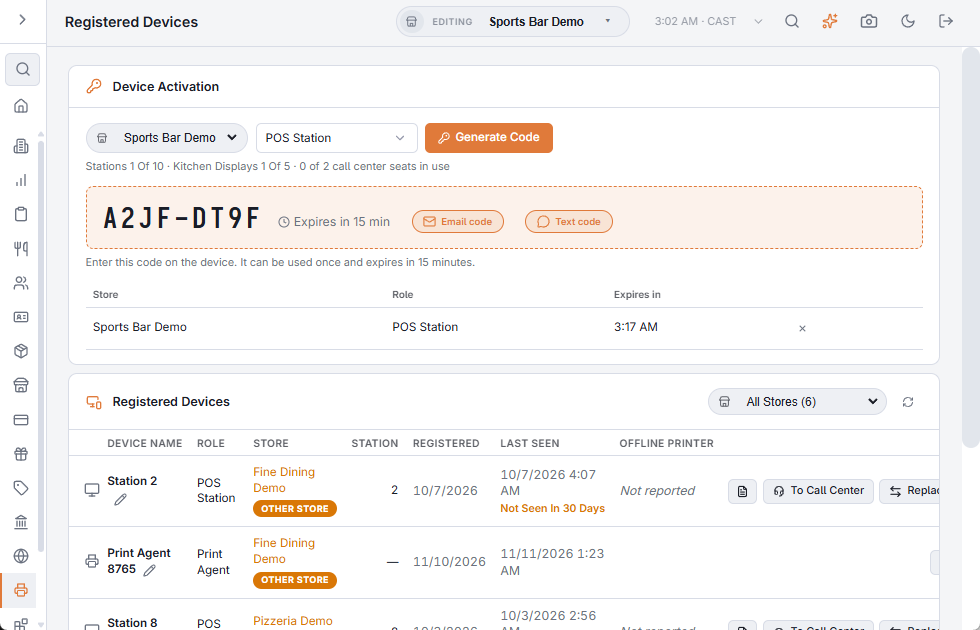
- In the Back Office, open the device registration page and generate a short code — a few characters, valid briefly, single use.
- On the new device, open the POS and enter the code. The device authorizes itself and joins the store.
- Name it, same as before. Repeat for every station.
Generating codes is a manager-level action — that’s deliberate, since a code is the key to your store. Treat codes like keys: make one when needed, use it, done. See Device authorization and device mode for the full details.
Step 4 — Set up printing with the Print Agent
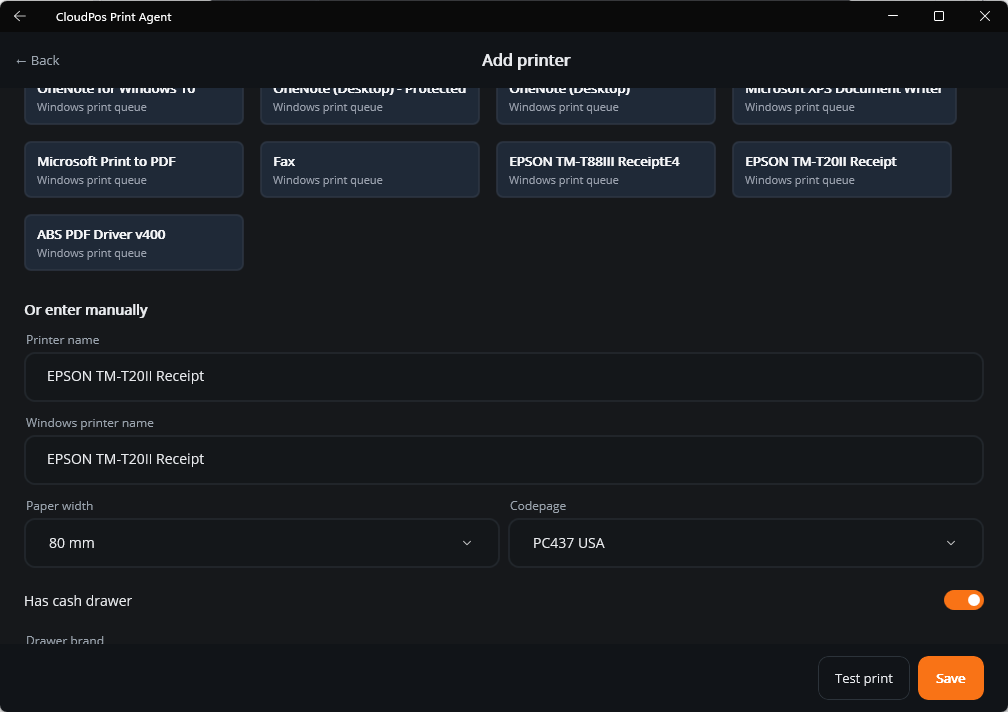
Receipts and kitchen tickets print through a small helper app called the Print Agent. You install it on one device (Windows or Android) that can reach all of your printers — over the store network, or — on a Windows PC — through the printers installed in Windows. Every register then prints through it automatically; the registers themselves never need printer drivers or setup.
- Pick a device that stays on during business hours and sits on the same network as the printers — a back-office PC or a dedicated tablet is ideal.
- Install the Print Agent on it and authorize it (same short-code process as any device).
- Add each printer in the agent (+ Add Printer) and run a test print on it, then give each one its job — receipts at the counter, prep tickets in the kitchen — in Back Office › Hardware & Printing › Print Routing. See Setting up printing, start to finish.
Step 5 — Kitchen display (optional)
If the kitchen works from a screen instead of (or alongside) paper tickets, the Kitchen Display runs in a browser — any spare tablet or screen with a browser works. Open the KDS address on it, authorize it like any device, and orders appear as they’re sent. See Kitchen Display setup.
Step 6 — Ring your first order
Your store comes with a starter menu so you can test before building your own:
- On a register, sign in with your PIN and start an order.
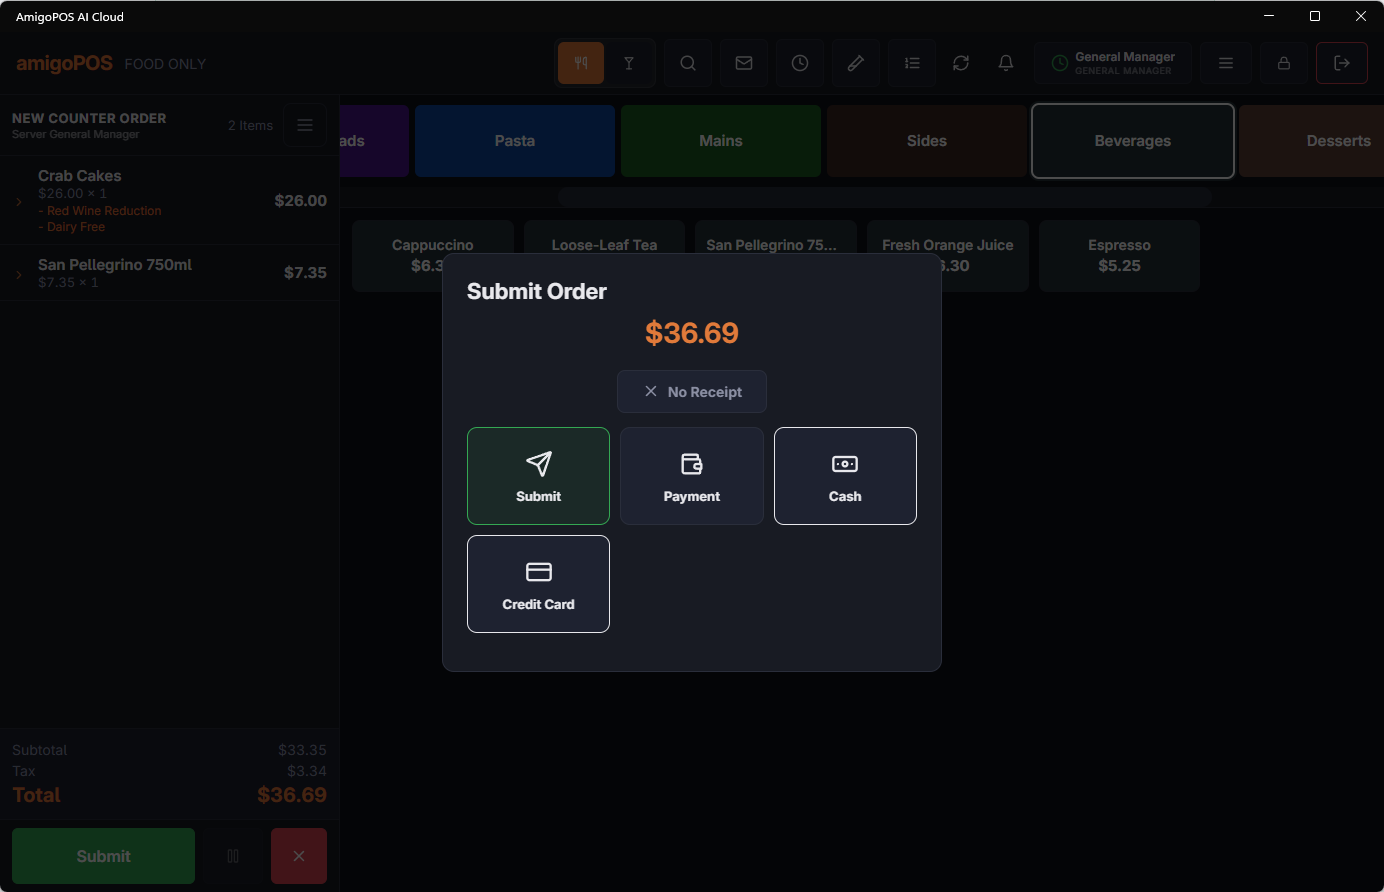
- Tap a couple of items, send (watch the kitchen printer or KDS react), then settle with the Cash button.
- A receipt prints, the drawer pops if you have one, and your first sale is on the dashboard.
If all of that worked, the system is fully alive — everything from here is configuration, not setup.
What to do next, in order
- Build your menu — categories first, then items: Categories and Menu items.
- Add your staff — each person gets their own PIN and a job with the right permissions: Employees and Jobs, roles & permissions.
- Set your taxes — before real sales, not after: Sales tax setup.
- Connect card payments — when you’re ready to take cards: Integrations.
- Learn the daily rhythm — opening, cash drawers, end of day: the Your first shift section walks a complete day.