Printing is set up in three places, always in the same order. Most confusion comes from looking for a setting in the wrong one, so it is worth knowing what each place is for before starting.
| Where | What you do there |
|---|---|
| Back Office › Hardware & Printing › Registered Devices | Generate a one-time code that connects a Print Agent to one store. |
| The Print Agent app, on the computer or tablet the printers are connected to | Add each printer: how to reach it, paper, language, cash drawer. This is the only place a printer is created or changed. |
| Back Office › Hardware & Printing › Print Routing | Decide what prints where: which printer takes receipts, which takes each kitchen or bar station, how many copies. |
There is no “add printer” in Back Office. A printer appears in Back Office by itself once the Print Agent saves it, and only for the store that agent belongs to.
Before you start
- Pick the device that will run the Print Agent. It must stay switched on during trading hours and be able to reach every printer: a Windows PC the receipt printer is plugged into by USB, or any Windows PC or Android tablet on the same network as network printers. One agent can drive many printers; a store can have several agents.
- Give network printers a fixed address. Print the printer’s self-test page (usually: hold the feed button while switching it on) to see its IP address, and reserve that address in the router. A printer that changes address overnight looks exactly like a broken printer.
- USB printers on Windows: install the maker’s Windows driver first, so the printer appears in Windows’ list of printers. The agent prints through that entry.
- Know which store you are setting up. Each agent serves exactly one store. If your account manages several stores, check the store shown at the top of Back Office before generating the code.
Step 1 — Connect a Print Agent to the store
- Install the Print Agent on the chosen device — see Installing the Print Agent on Windows or on Android.
- In Back Office › Hardware & Printing › Registered Devices, in the Device Activation card, choose the store (it starts on the store Back Office is editing), set the role to Print Agent and press Generate Code.
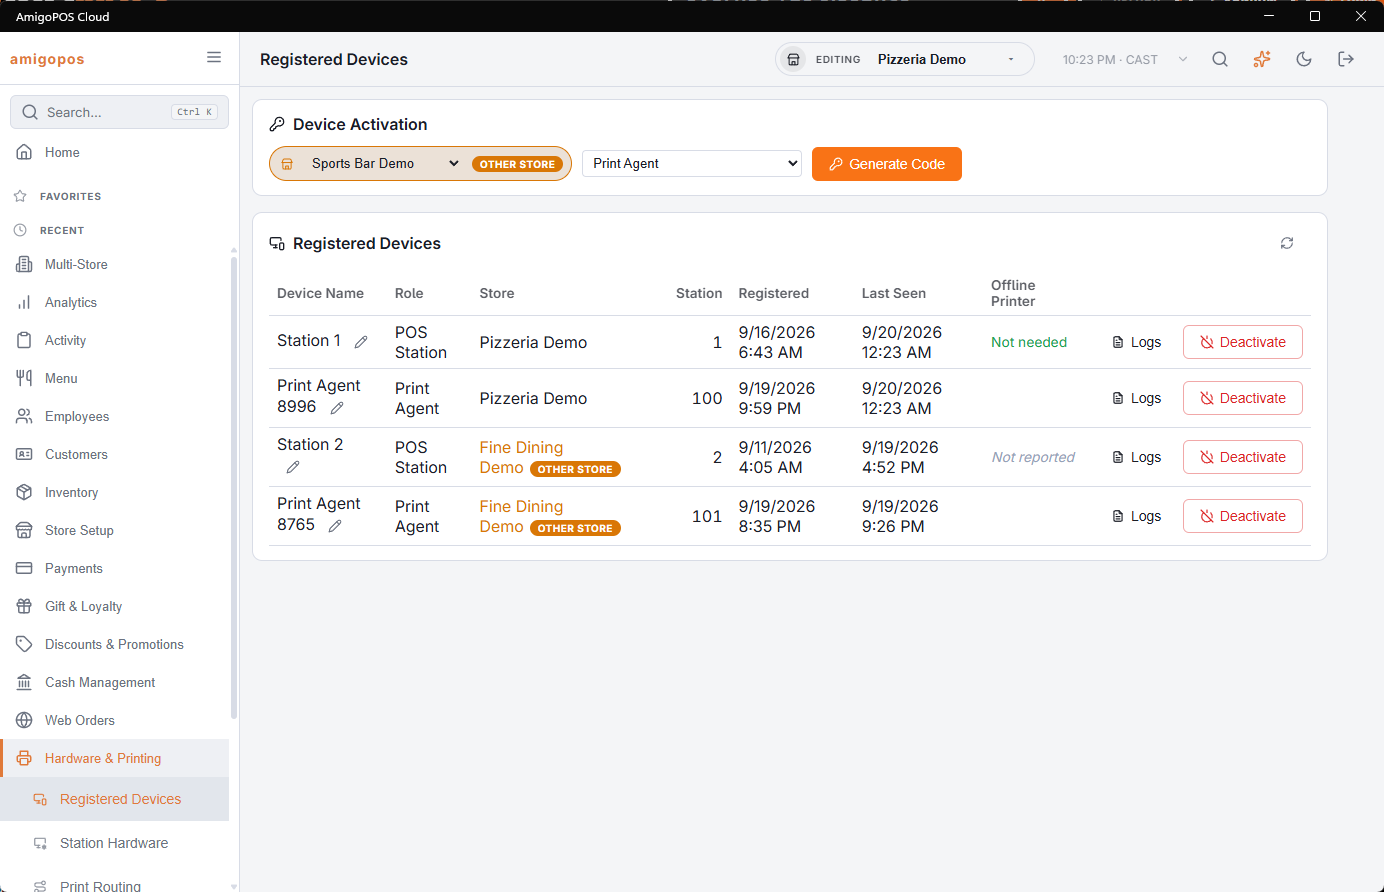
- A code appears. It works once and expires after 15 minutes, so generate it when you are standing at the device. Email code and Text code send it to your phone if the device is somewhere else.
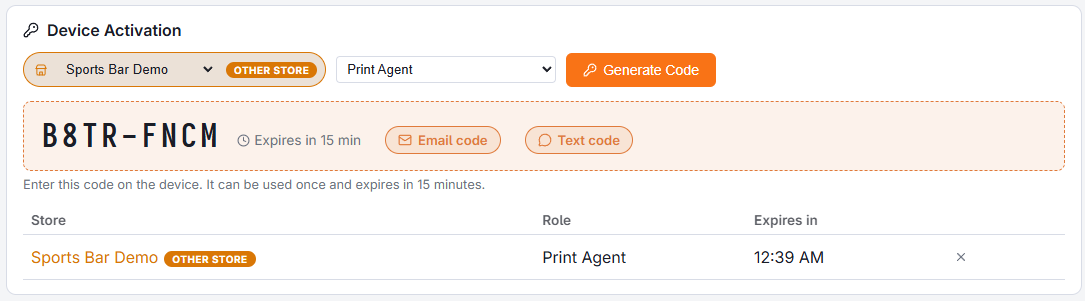
- On the device, type the code into the Print Agent and press Activate.
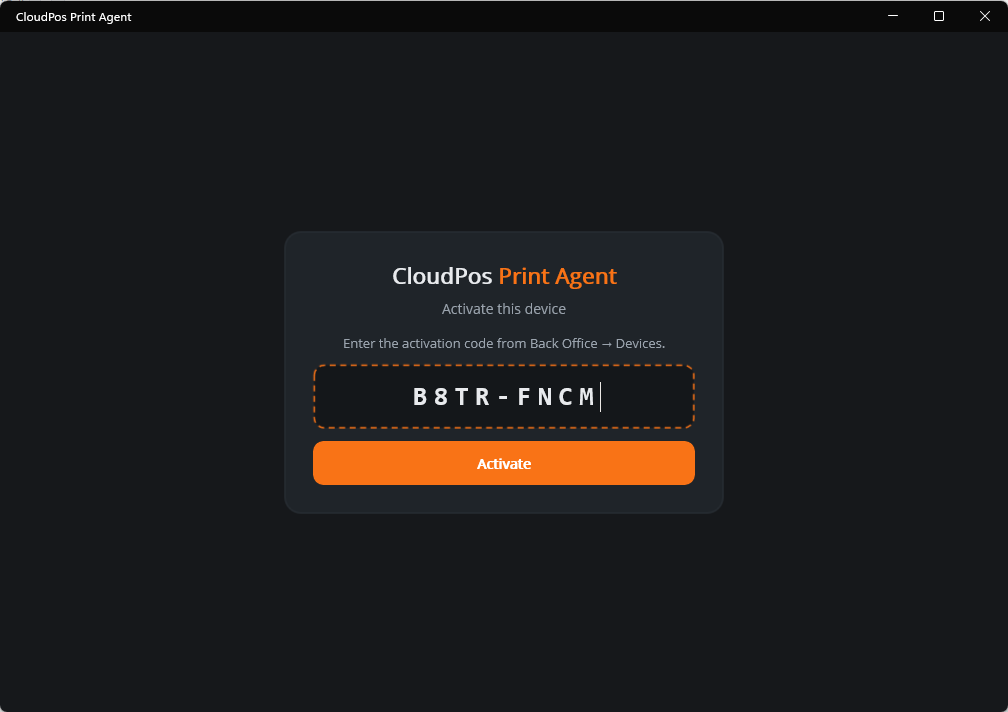
- The agent confirms with Setup complete and the merchant and store it now belongs to. Check the store name. If it is the wrong store, stop here and see Activating an agent for the right store.
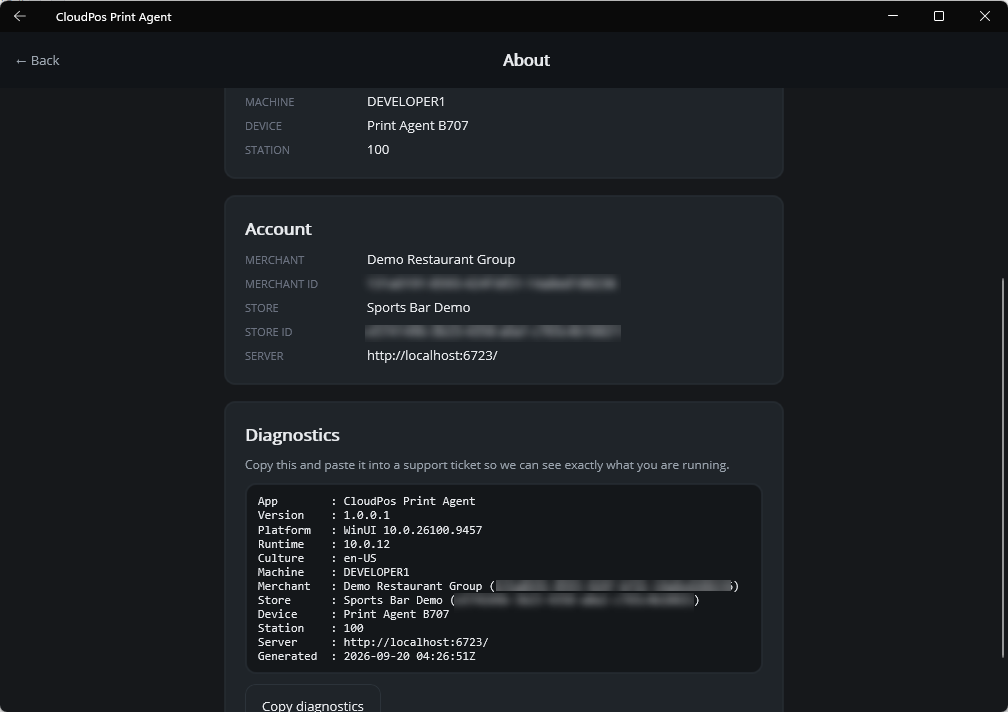
- The agent opens on its Printers screen, empty for now. The line under the title shows the store and the agent’s name. Back in Registered Devices, the agent is listed as a new device; rename it there with the pencil (Office PC, Kitchen tablet) so it is easy to recognise later.
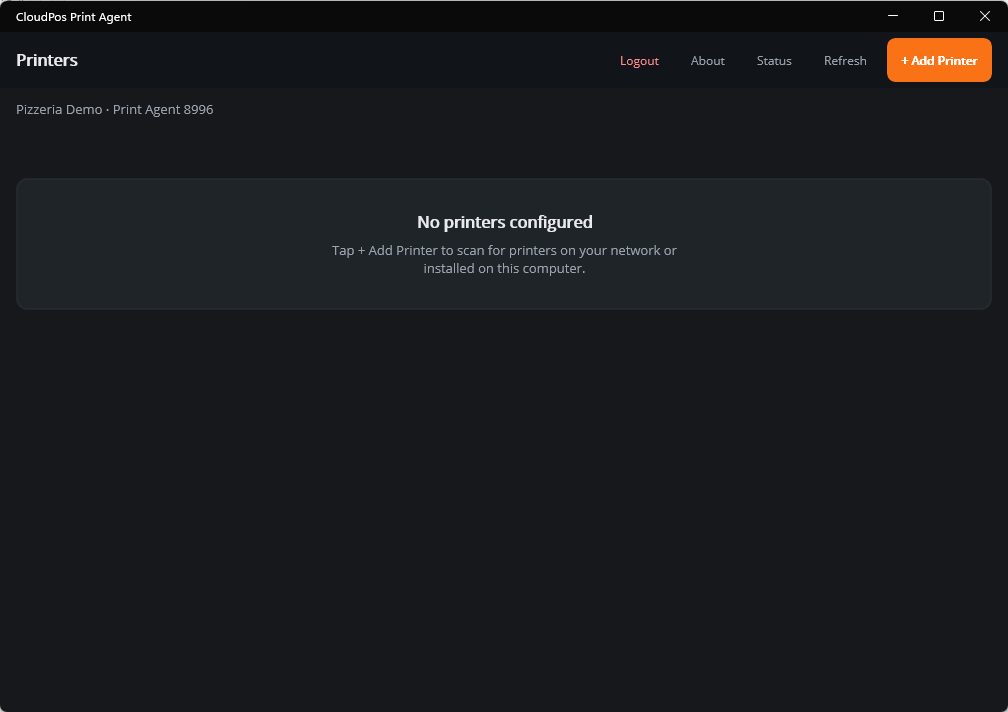
Step 2 — Add the printers in the Print Agent
- Press + Add Printer.
- Choose the connection type:
- Windows (Windows agent only) — for printers installed in Windows, including USB printers. Press Scan and tap the printer in the list.
- Network — for printers with an Ethernet or Wi-Fi port. On Windows, Scan looks for printers on the local network; otherwise type the IP address and keep port 9100.
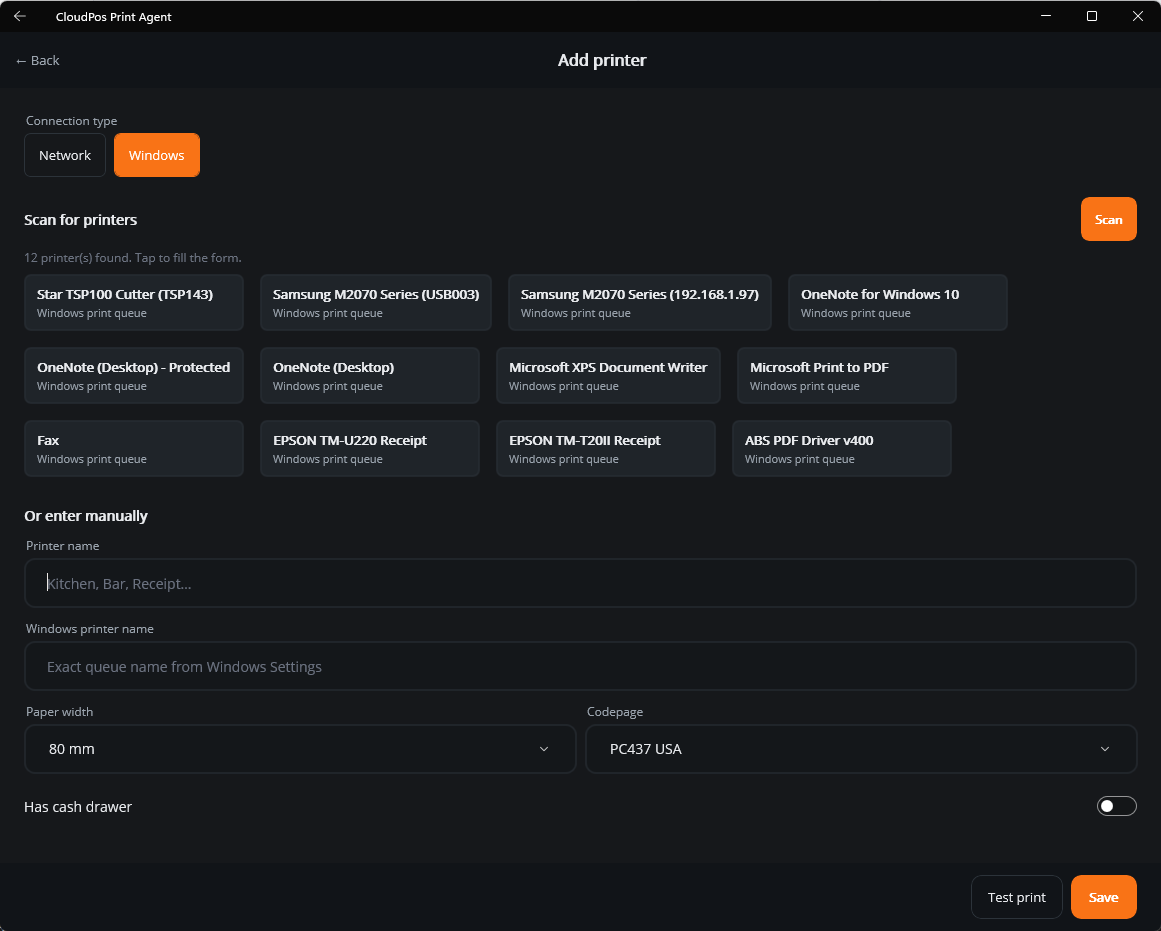
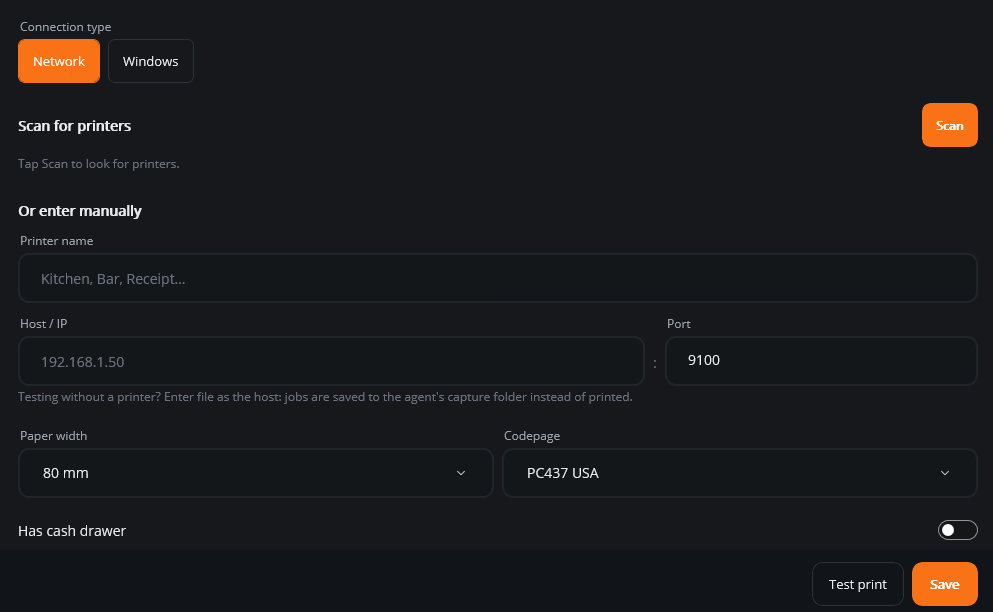
- Give the printer a name that says where it is — Receipt, Kitchen, Bar, Expo. This is the name you will pick in Back Office, so the brand is less useful than the place.
- Set the paper width (80 mm for almost every receipt and kitchen printer, 58 mm for small ones) and leave the codepage on PC437 unless accented letters print wrong.
- If a cash drawer is plugged into this printer, switch on Has cash drawer and choose the brand.
- Press Test print. A short slip should come out. If it does not, fix that now — nothing later will work until a test prints.
- Press Save. Repeat for every printer.
- For Star printers in their own language, or impact (dot-matrix) kitchen printers, open the printer again with Edit and set Command language or Impact printer — see Printer settings explained.
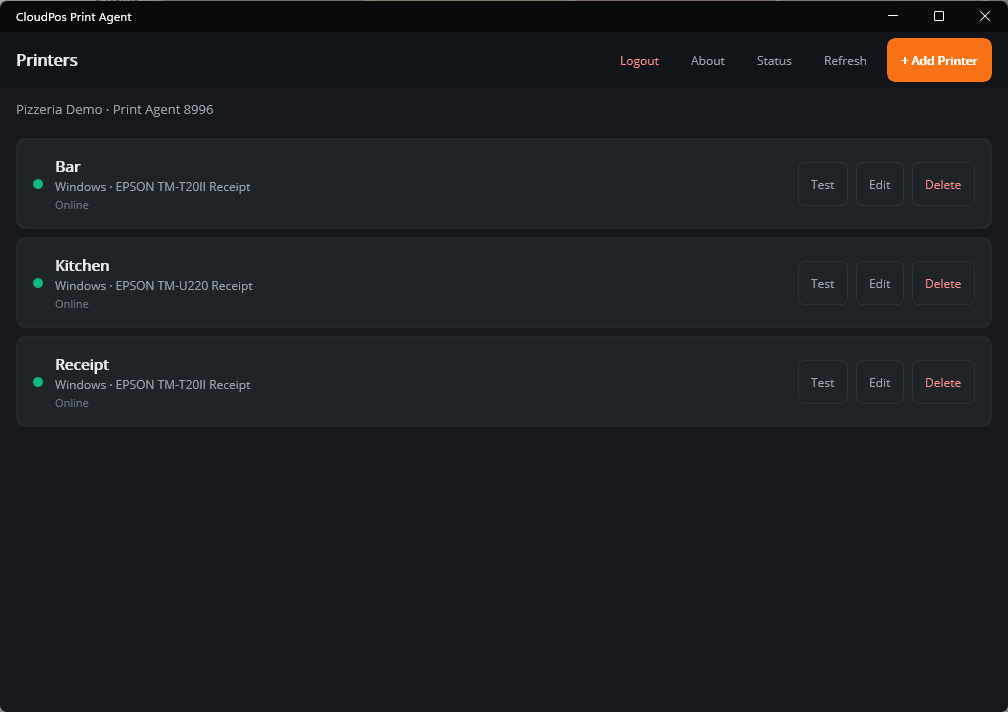
Step 3 — Route the printers in Back Office
- Open Back Office › Hardware & Printing › Print Routing. Leave Device on Store Default.
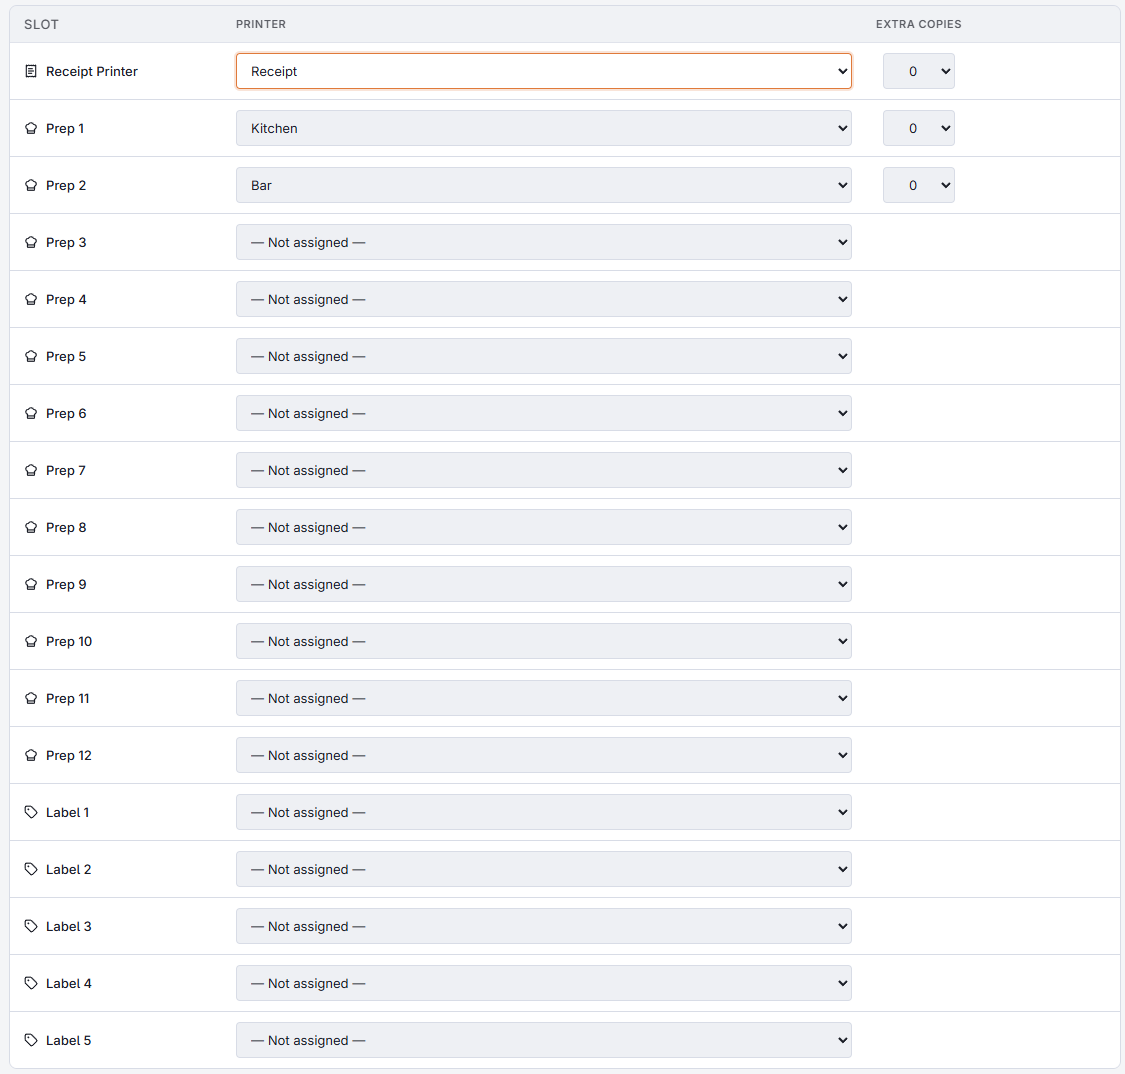
- In the Receipt Printer row, choose the receipt printer. The list shows every printer the store’s agents have added. The choice saves as soon as you pick it.
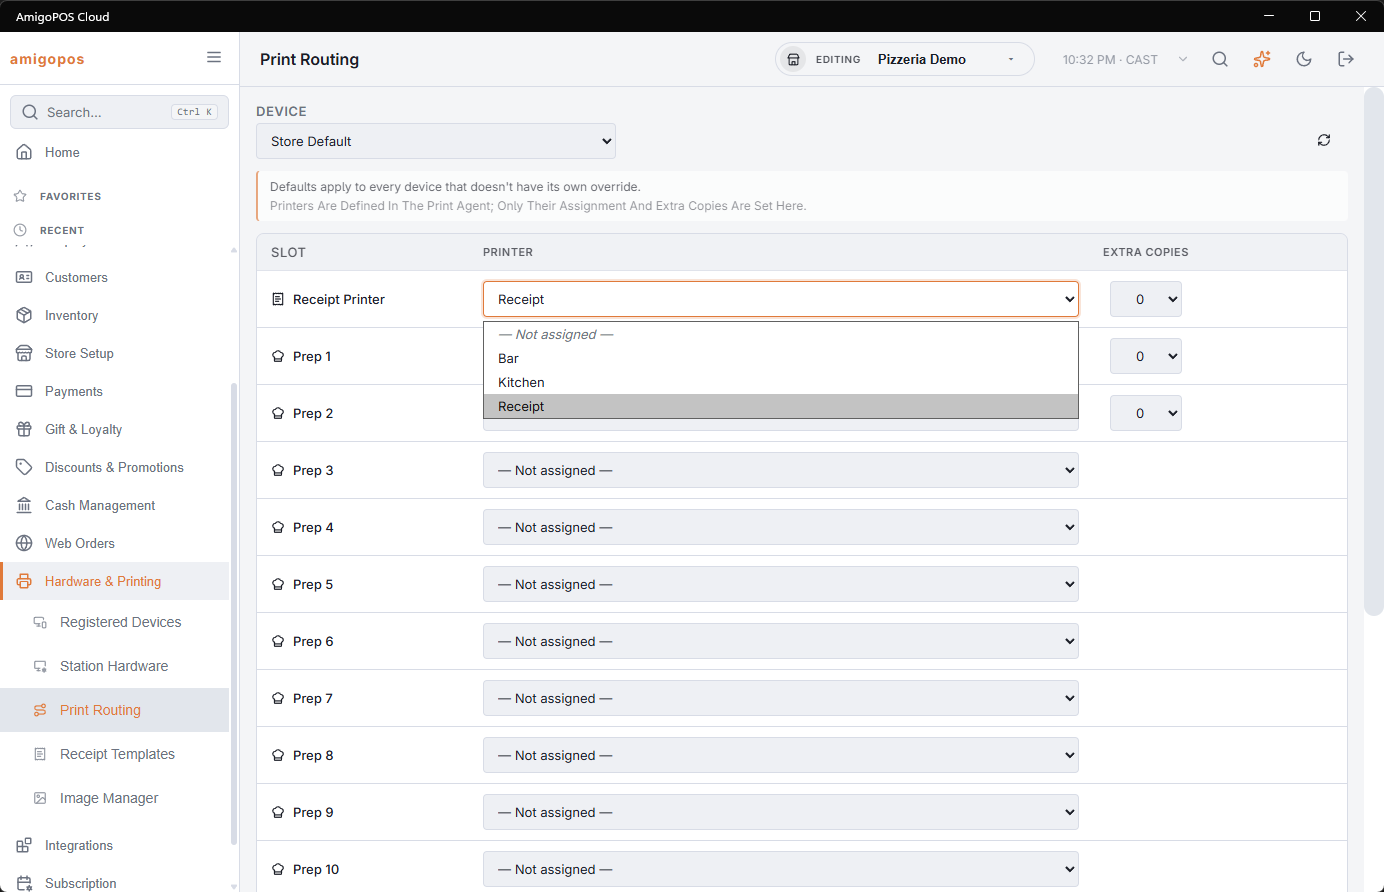
- In Prep 1, Prep 2 and so on, choose the kitchen and bar printers. The prep numbers are the ones menu items and categories are assigned to; see Print routing.
- Only if one register should use a different printer from the rest, choose that register in Device and change its rows. Everything else follows the store default.
Step 4 — Prove it end to end
- On a register, ring a short order with one item from each prep station and pay it.
- The receipt should print on the receipt printer and each item’s ticket on its station’s printer.
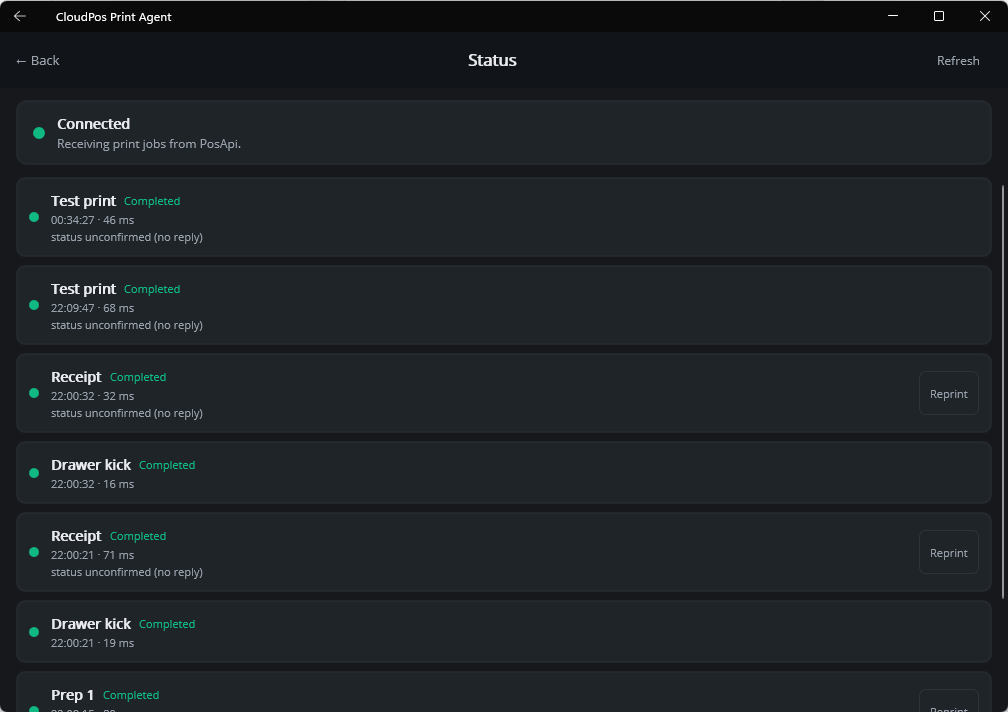
- If something did not print, open the agent’s Status screen: every job that reached the agent is listed with its result. A job that is not listed never reached this agent, which means routing, not the printer.
To check routing before the real printers are in place, add a capture-to-file printer: a Network printer whose address is the word
file. Jobs are written to text files you can read. See Testing without a printer.What happens when something prints
The register never talks to a printer. It sends the job to the AmigoPOS Cloud server, the server looks up the slot in Print Routing to find the printer, and pushes the job to the Print Agent that owns that printer. The agent prints it and reports back. That is why a register needs no printer drivers, why any register can print on any printer in the store, and why the agent’s device must stay on.