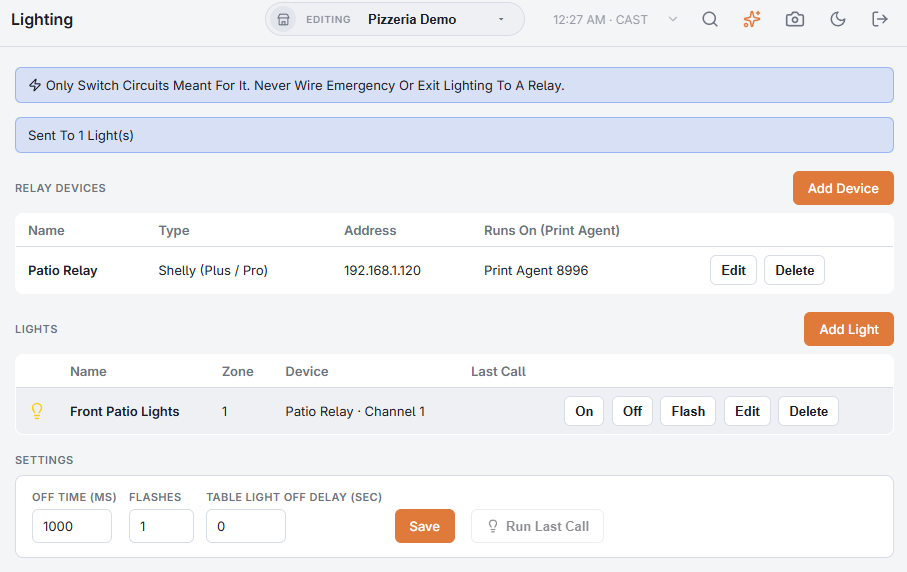
For each command CloudPos builds a web address from the device’s Type and Address, the light’s Channel, and the action. The Print Agent sends it as a plain web request on the store network.
The addresses (device at 192.168.1.50, channel 1)
| Type | On | Off | Flash (off 1 second) |
|---|---|---|---|
| Shelly (Plus / Pro) | /rpc/Switch.Set?id=0&on=true | …&on=false | …?id=0&on=false&toggle_after=1 |
| Shelly (Gen 1) | /relay/0?turn=on | …?turn=off | …?turn=off&timer=1 |
| Tasmota | /cm?cmnd=Power1%20On | …Power1%20Off | /cm?cmnd=Backlog Power1 Off;Delay 10;Power1 On |
| Custom | the light’s On URL | the light’s Off URL | Off URL, wait, On URL |
Channel 2 becomes id 1 on Shelly and Power2 on Tasmota, and so on. Each address starts with http:// and the device address.
- Logins: Shelly and Custom devices get the username and password as a normal web login; Tasmota gets them in the address, the way Tasmota expects.
- Custom devices take any address that switches the light with a plain web request. If the device wants its login in the address, put it in the URLs.
- Each request waits up to three seconds for an answer.
Testing on the bench
You can prove the whole chain with LEDs on a breadboard before an electrician touches the lights:
- An ESP8266 or ESP32 board flashed with Tasmota, with a few pins set as Relay1–4 and an LED on each. Add it as type Tasmota.
- Or any microcontroller with Wi-Fi programmed to answer the Shelly addresses above, then added as Shelly (Plus / Pro).
Add the board as a device (it must be on the same network as the Print Agent, with a local address), add one light per LED, and use the On / Off / Flash buttons and Run Last Call.