Every register is a little different: a 24-inch terminal at the counter, a 10-inch tablet behind the bar, a left-handed server who wants the check on the other side. Layout lets a manager shape the Order Entry screen to fit the station without touching the menu itself. Everything here is a display preference - it never changes prices, items, or the order.
What you can change
- Guest check position - the check panel on the left (default) or the right of the screen.
- Guest check width - Narrow, Normal, or Wide.
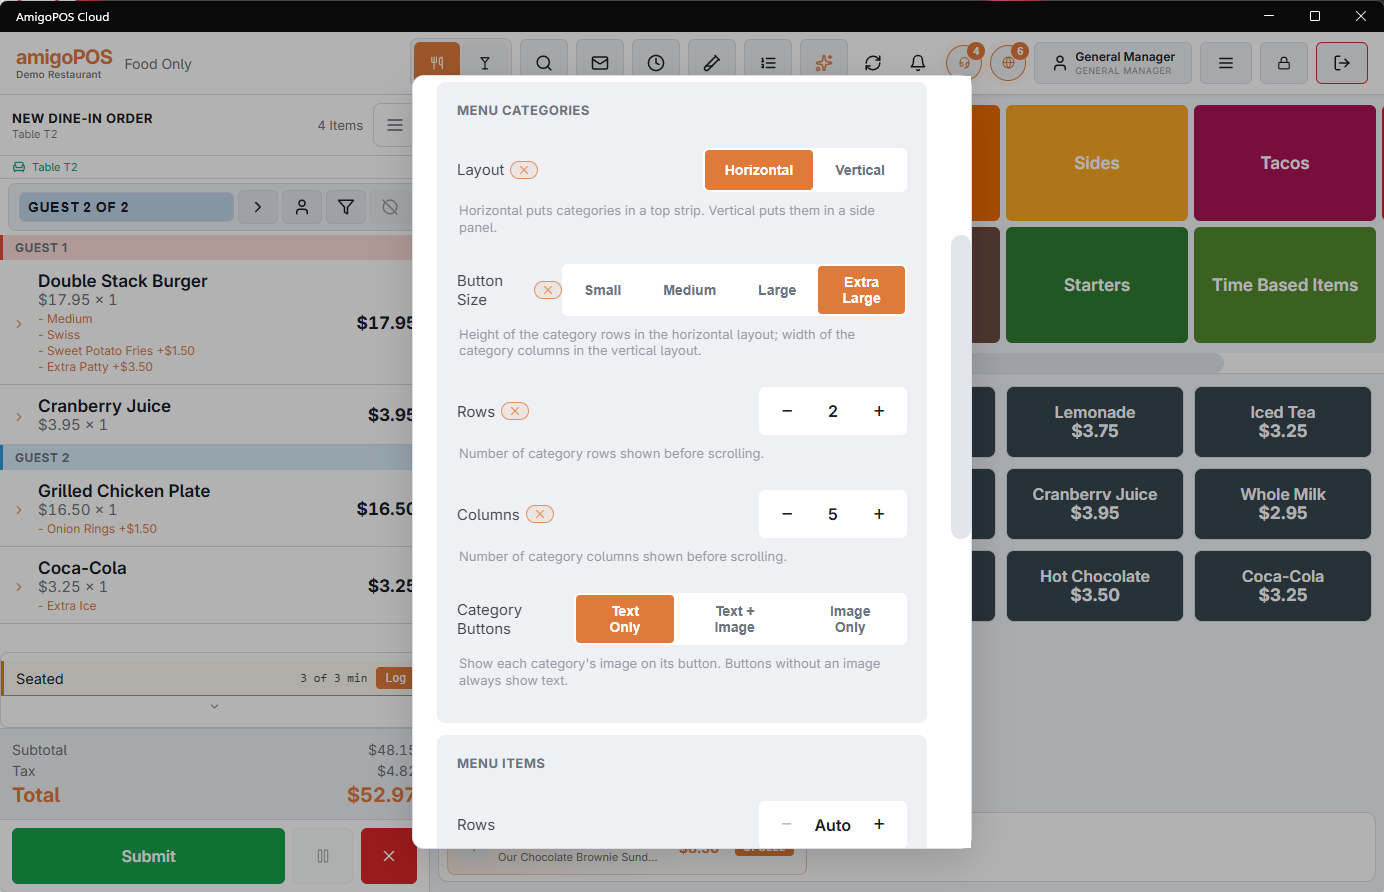
- Menu categories - a strip across the top or a panel down the side, and how many rows and columns of category buttons show before scrolling.
- Menu items - how many rows and columns of item buttons fill the grid. Buttons are sized from the space available, so the same setting looks right at any screen resolution.
- Text size - Small, Medium, Large, or Extra Large for the menu buttons and the lines on the guest check.
- Station at bar - suppresses prep tickets for bar items rung up at this station (unchanged from before; see Bar modifiers and qualifiers).
Opening Layout
Tap the Actions button (the ≡ icon at the top right of the guest check), then Layout in the header row next to Menu and Back Office. The button only appears for users whose job has the Manager permission.
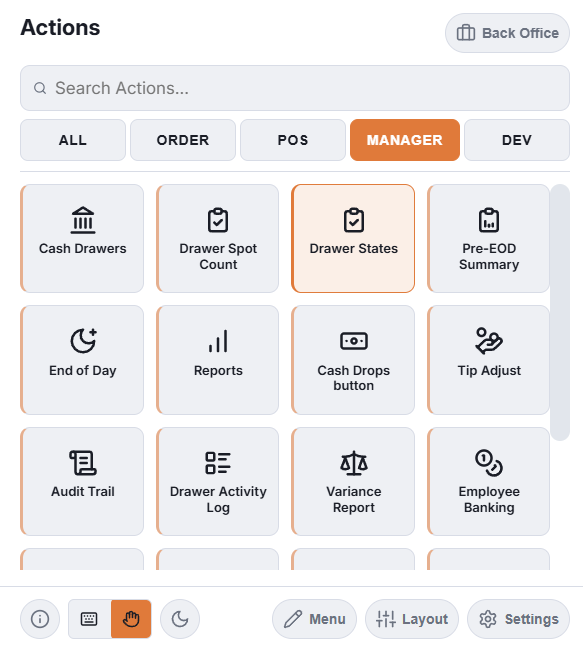
You can also open it while editing the menu: turn on Menu (edit mode) and tap the sliders button that appears at the bottom right of the screen.
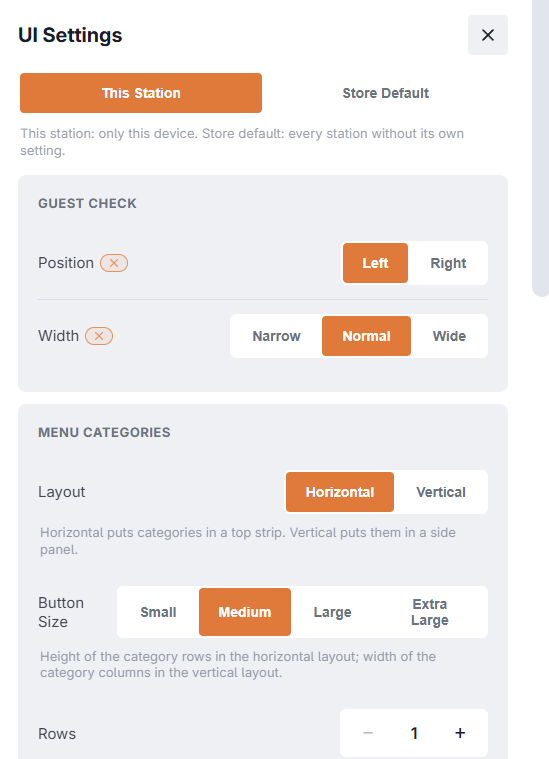
This station or the whole store
Each setting exists on two levels, and the switch at the top of the overlay chooses which one you are editing:
- This Station - applies to this device only. Use it for the tablet that needs bigger buttons or the one register that sits on the other side of the counter.
- Store Default - applies to every station in the store that does not have its own value. Set it once from any register and new or reset stations follow it.
A station value always wins over the store default. When a setting has been changed on this station, a small × chip appears next to its label; tap the chip to drop that one override and fall back to the store default, or tap Use Store Defaults at the bottom to drop all of them.
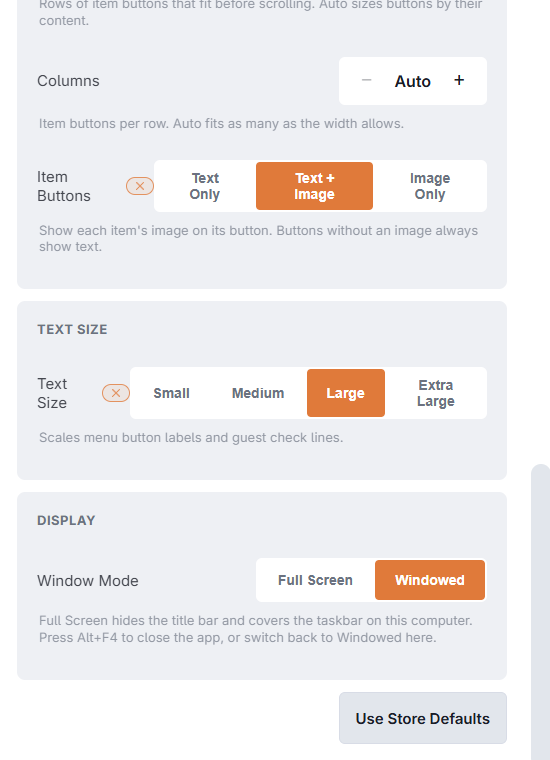
Guest check
Position moves the check panel to the left or right edge. Width gives the check more or less room; Wide is useful when guest names, modifiers, and notes make the lines long, Narrow gives the menu grid the most space.
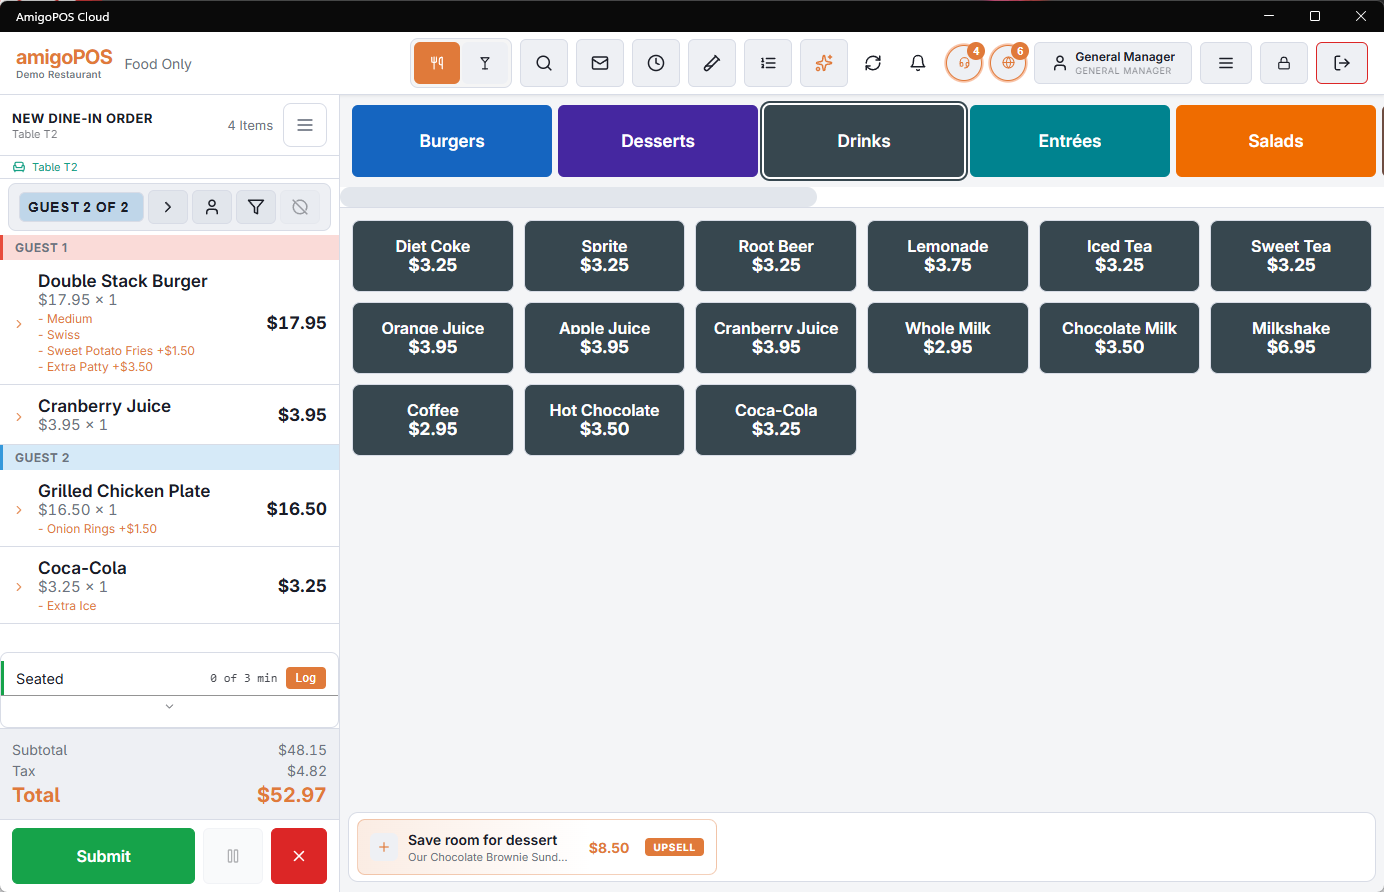
Menu categories
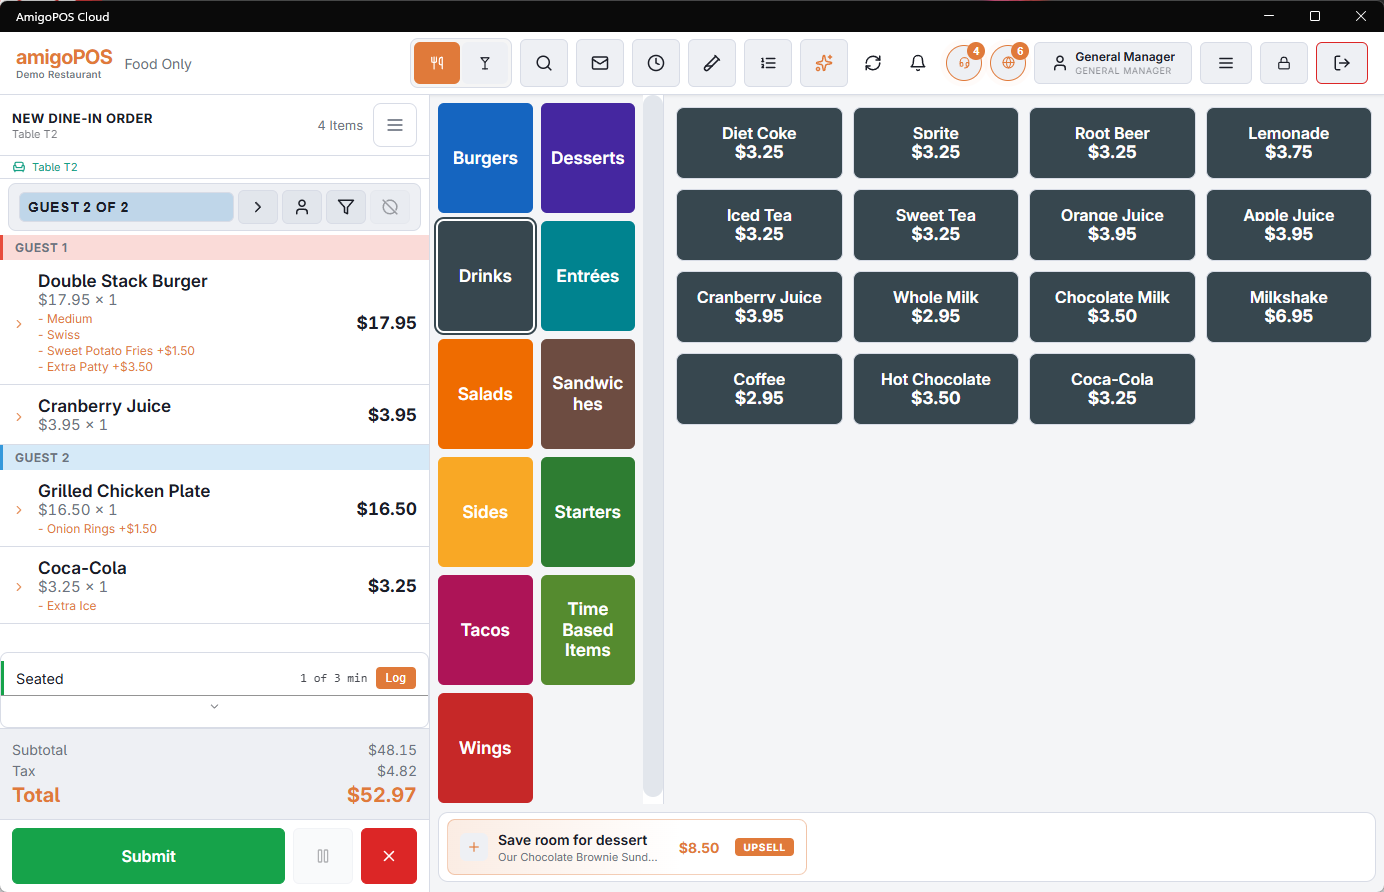
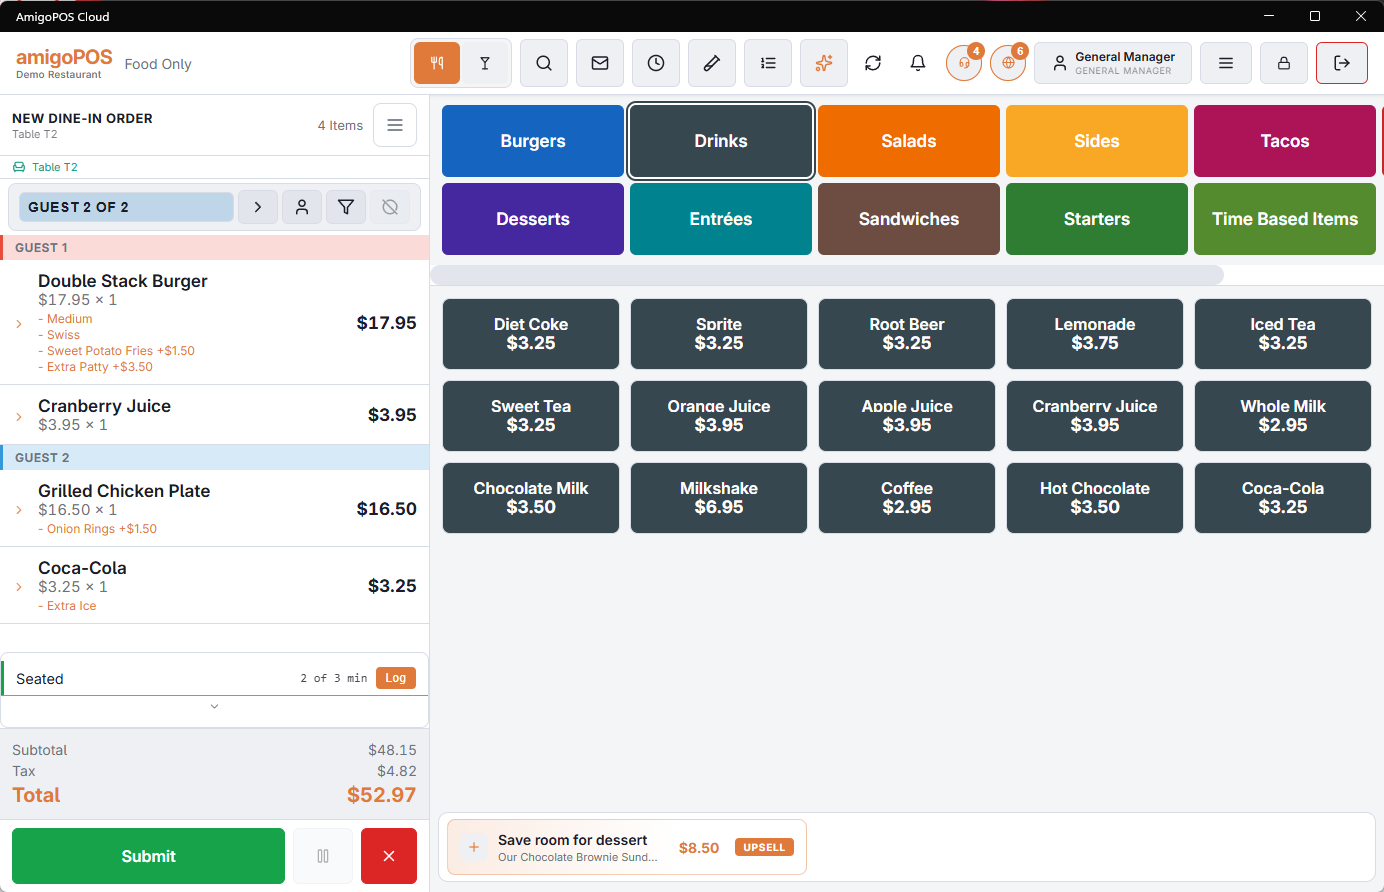
Layout puts the category buttons in a strip above the items (Horizontal) or in a panel beside them (Vertical). Rows and Columns set how many buttons are visible before the strip or panel scrolls; the buttons stretch to fill the space you give them.
Switching the layout resets its rows and columns to sensible starting points - one row for the horizontal strip, six rows by two columns for the vertical panel - so adjust those after choosing the layout.
Menu items
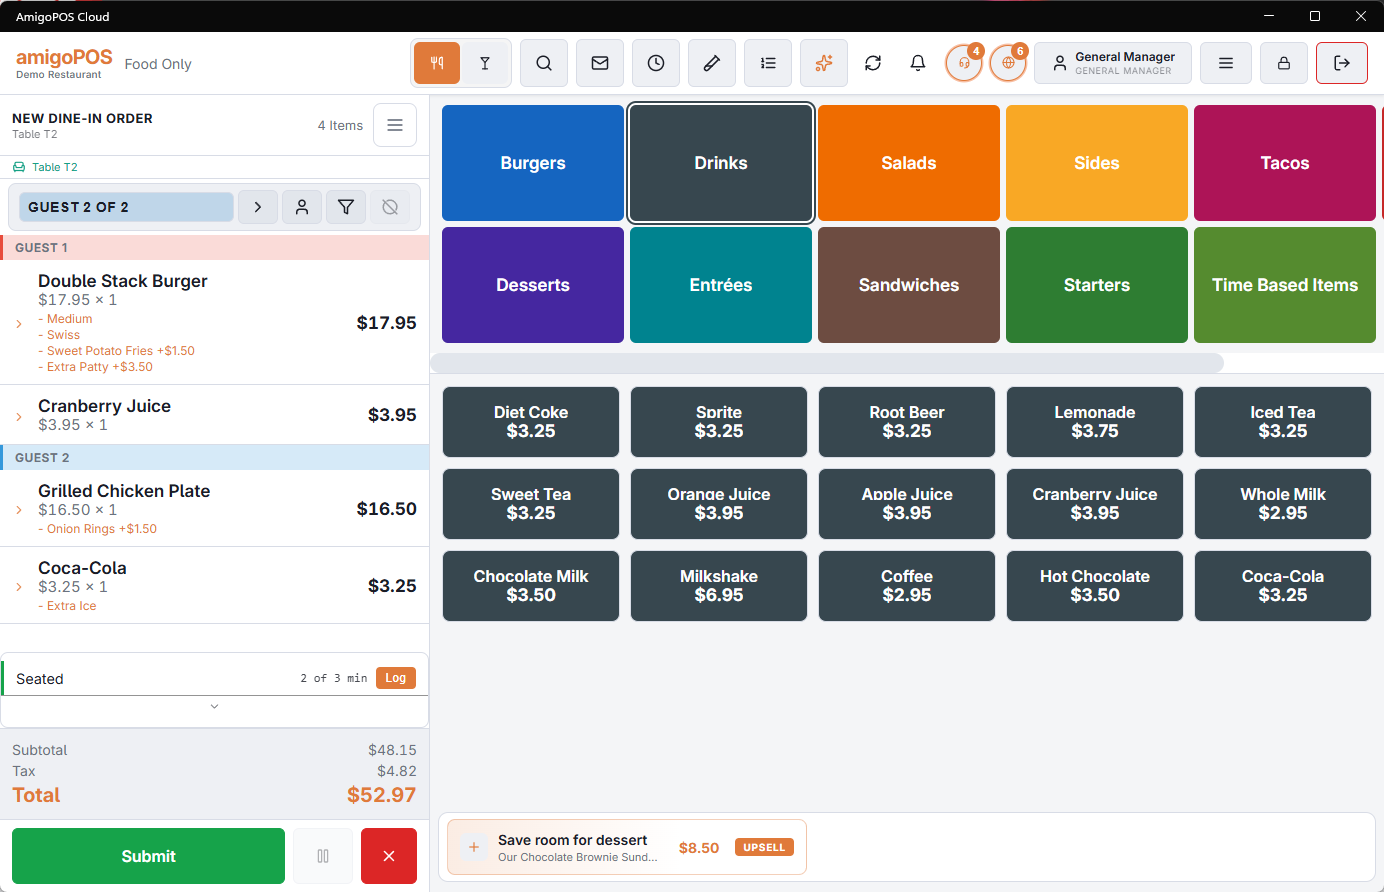
Left on Auto, item buttons keep their standard size and the grid fits as many across as the width allows - the behaviour every store had before this setting existed. Set Columns to fix how many buttons sit across the grid, and Rows to fix how many fit top to bottom; the buttons grow or shrink so exactly that many are visible, and any extra items scroll below.
Fewer rows and columns means bigger buttons - good for a busy bar or a small touch screen. More rows and columns suits a large menu on a big terminal.
Text size
Text Size scales the labels and prices on the category and item buttons and the item lines on the guest check. It does not change the top bar, overlays, or Back Office, so a larger size stays readable without pushing other screens out of shape.
Asking the assistant
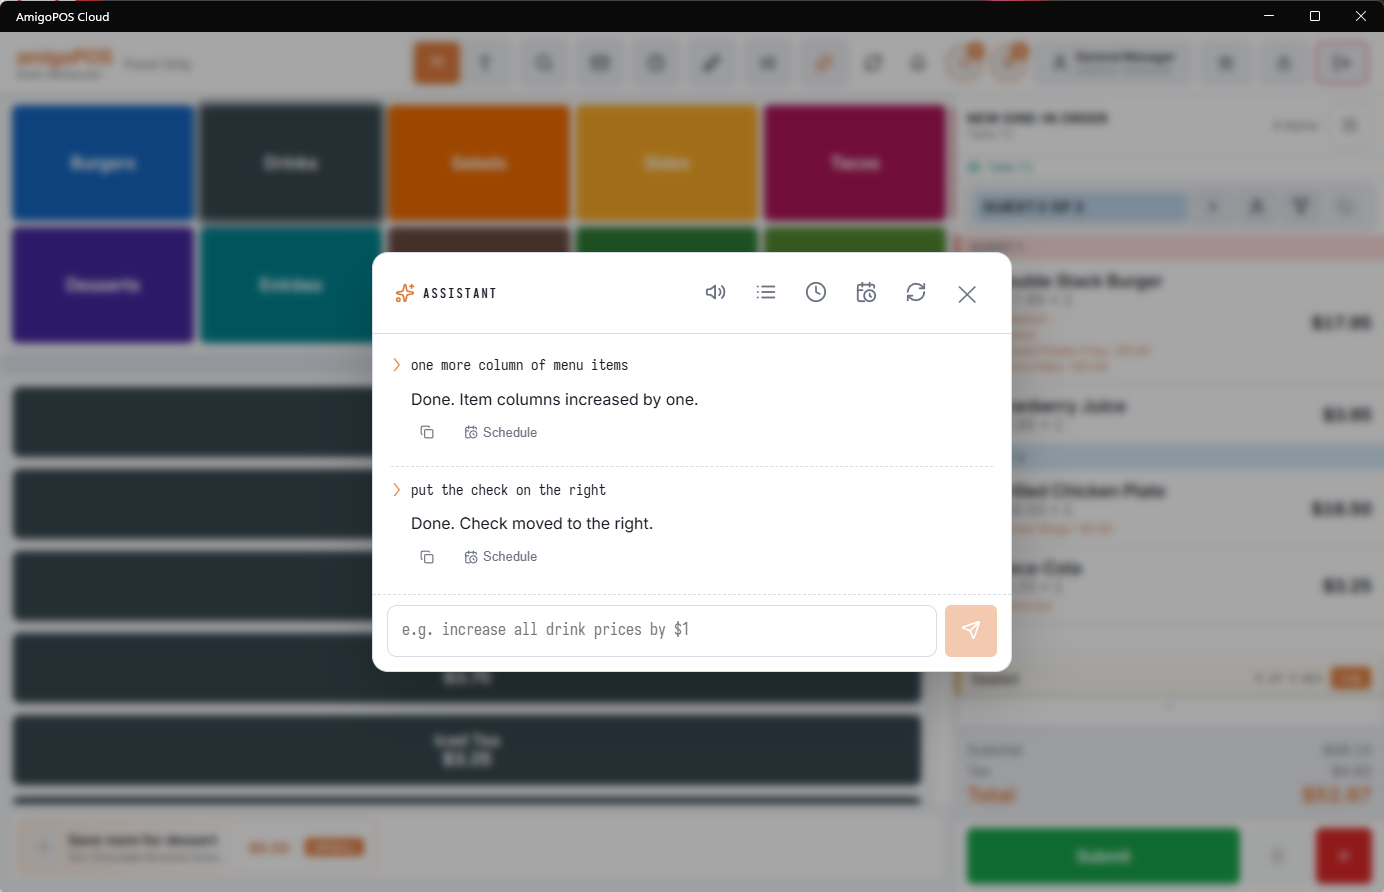
A manager can change any of these by talking to the assistant instead of opening the overlay. It knows the station's current layout, so relative requests work:
- "Put the guest check on the right."
- "One more column of menu items."
- "Make the text bigger."
- "Show the categories down the side."
- "Set item rows to 4 for every station." - saying every station, all registers, or the whole store writes the store default instead of this station.
- "Open the layout settings." - opens the overlay.
The assistant applies the change through the same rules as the overlay - values are checked, rows and columns are kept within range - and confirms with the resulting layout.
Good to know
- Retail mode keeps its own category and item grid settings, because its screen is laid out differently; guest check and text size are shared.
- Category and item colours, names, and order are part of the menu, not the layout - change those under Menu (edit mode) or in Back Office.
- Nothing here is stored on the order, so switching a station's layout in the middle of service is safe.