An agent is connected to a store with a one-time activation code. The code decides the store, so this is the step where most mix-ups begin — especially for accounts that manage several stores.
Generate the code
- Open Back Office › Hardware & Printing › Registered Devices.
- In Device Activation, the store starts on the store Back Office is editing. Check it.
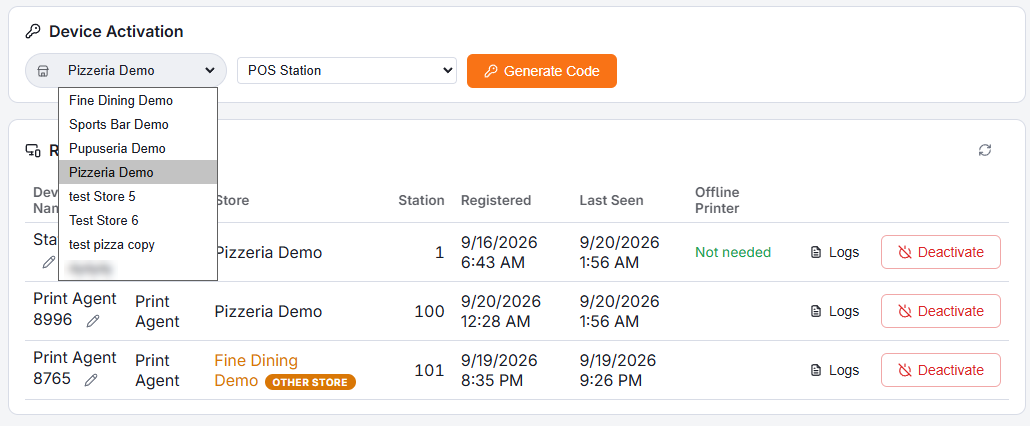
- If you choose a different store, the chip turns amber with an Other Store tag, as a reminder that the device will belong to that store, not the one on screen.

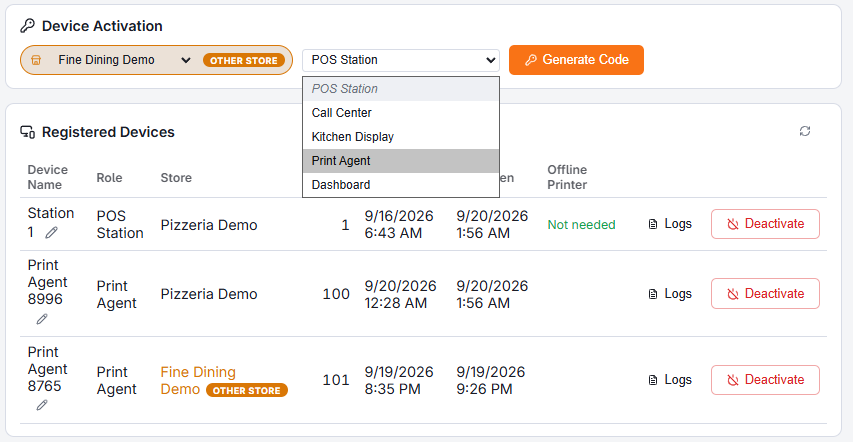
- Set the role to Print Agent. The same card also activates registers (POS Station), call center stations and kitchen displays, so the role matters.
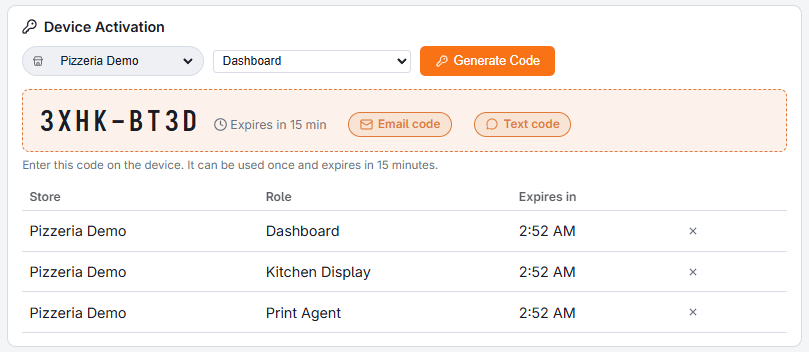
- Press Generate Code. The code works once and expires after 15 minutes. Email code or Text code sends it to you if you are not at the device.
Codes not used yet are listed under the card with their store, role and time left. Press × to cancel one you no longer need.
Activate the agent
- On the agent, type the code and press Activate.
- Setup complete shows the merchant and the store. If the store is wrong, press Logout and start again with a new code.
- The agent appears in the Registered Devices list with the role Print Agent and a name such as Print Agent 8765.

Name it
Rename the agent with the pencil next to its name in Registered Devices — Counter PC, Kitchen tablet. The name is what appears on the agent’s own header and what support will ask for.

Checking which store an agent belongs to
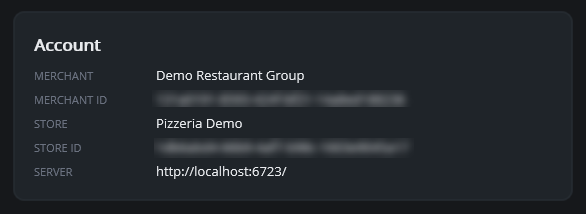
- On the agent: the line under Printers, or About › Account, which lists merchant, store and store ID.
- In Back Office: the Store column of Registered Devices. Devices of a store other than the one you are editing carry the Other Store tag.
Moving an agent to another store
- On the agent, press Logout and confirm.
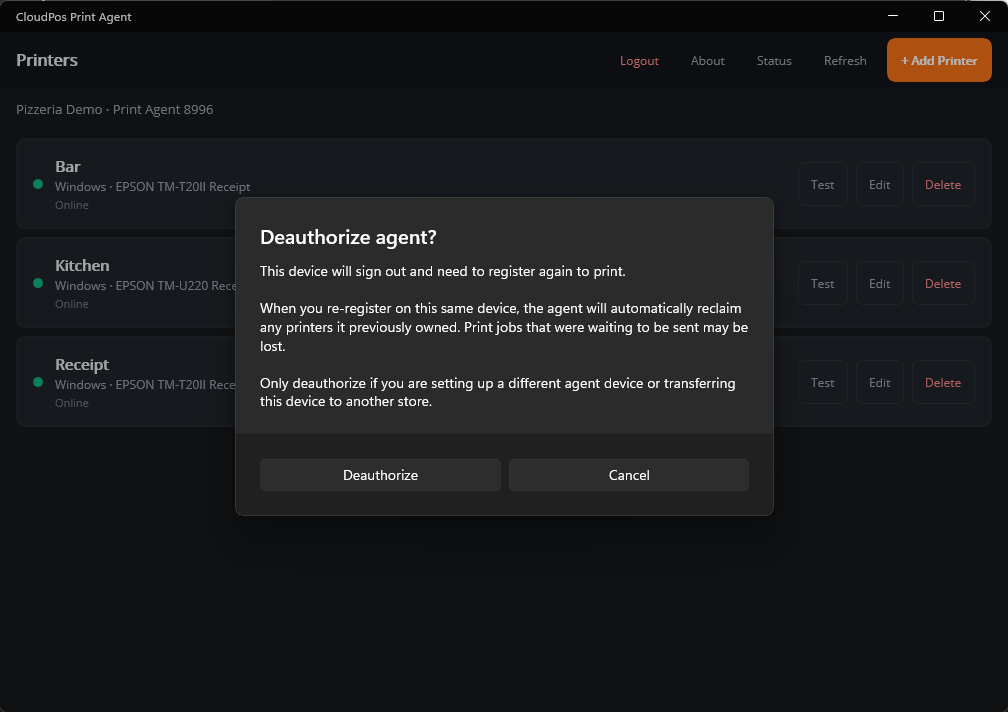
- Generate a code for the other store, activate, and add the printers again — printers belong to the store they were added to.
- Route them in that store’s Print Routing.
- In Registered Devices, Deactivate the old entry so it no longer counts as a device of the first store.
Deactivating
Deactivate in Registered Devices disconnects the agent from the store; its printers stop printing immediately. Use it for a device that is lost, replaced or retired. To bring a device back, activate it again with a new code; if its printers do not reappear, add them again and route them.