Every printer the store uses is added on the Print Agent that can reach it. Once saved, it appears in Back Office › Hardware & Printing › Print Routing for that agent’s store, under the name you gave it.
Which connection type?
| Type | Windows agent | Android agent | Use it for |
|---|---|---|---|
| Windows | Yes | — | Any printer installed in Windows: USB printers, and printers shared from another PC. Install the maker’s Windows driver first. |
| Network | Yes | Yes | Printers with an Ethernet or Wi-Fi port, reached by IP address on port 9100. Give them a fixed IP or a router reservation. |
file; see Testing without a printer.Add a Windows printer (USB or installed in Windows)
- Press + Add Printer and choose Windows.
- Press Scan. Every printer installed in Windows is shown as a tile.
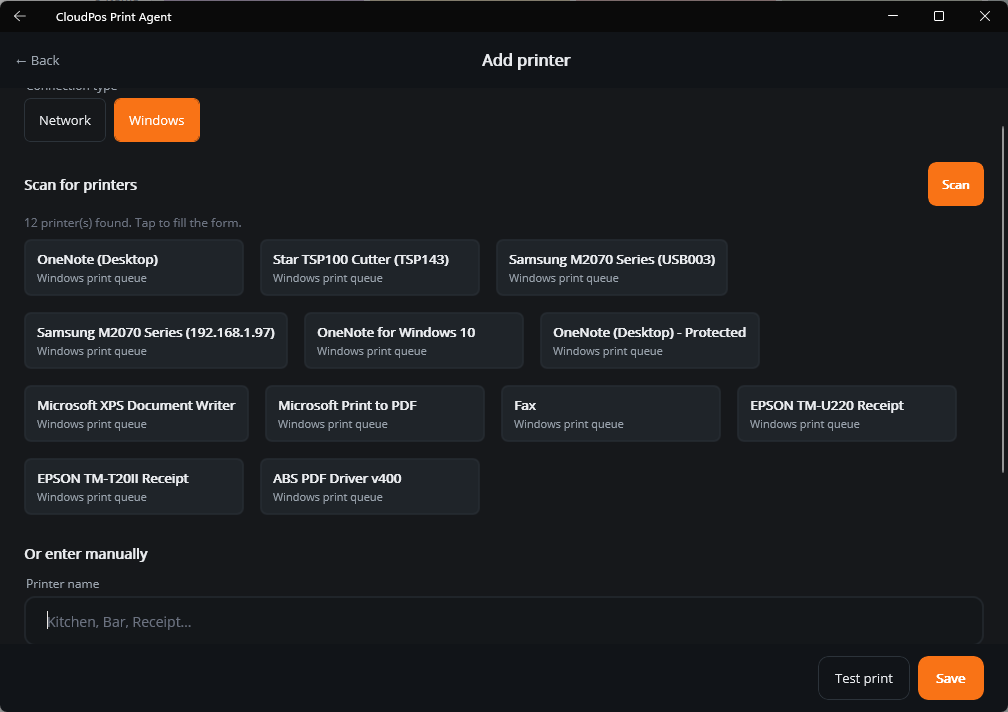
- Tap the printer. Printer name and Windows printer name are filled in. Change Printer name to where it is — Receipt, Kitchen — but leave Windows printer name exactly as it is: it must match the name in Windows character for character.
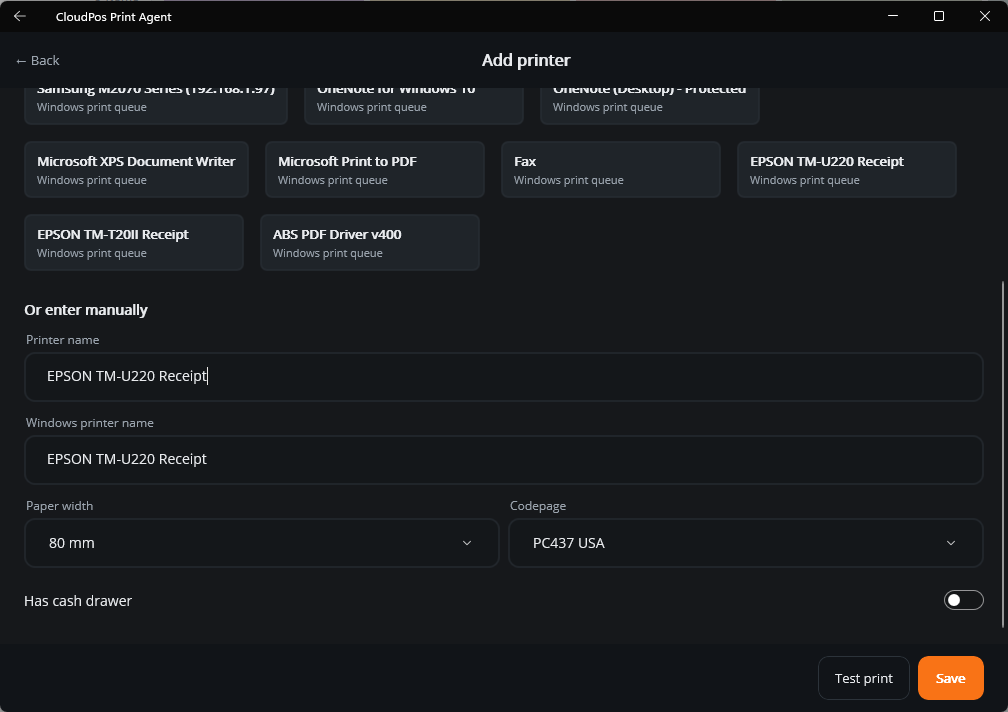
- Set Paper width and Codepage, and Has cash drawer if a drawer is plugged into this printer.
- Press Test print, check the slip, then Save.
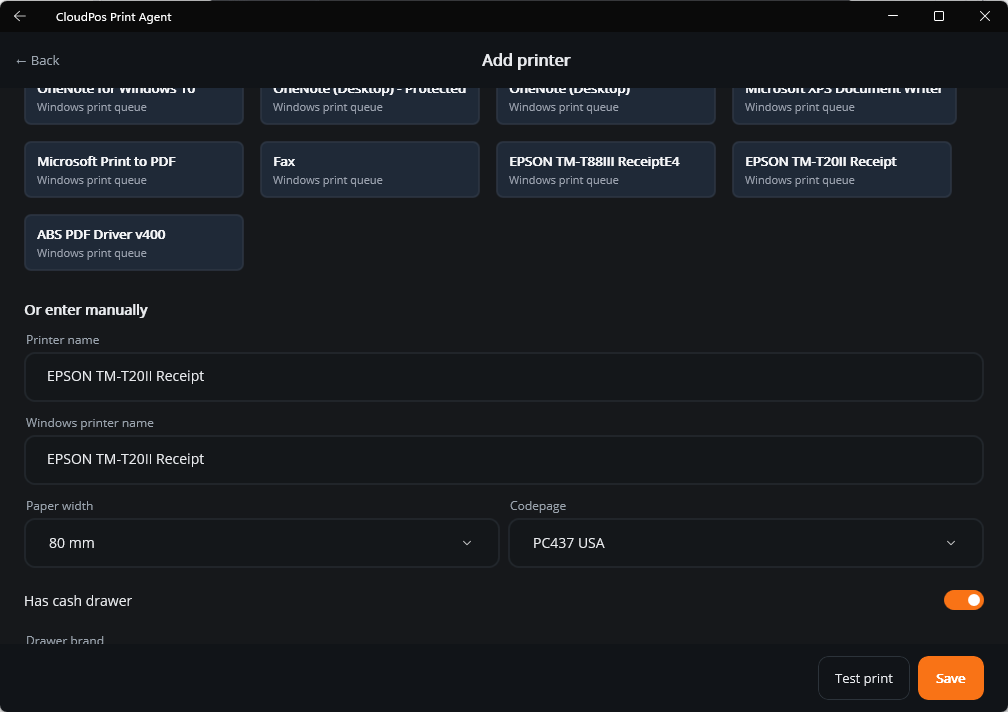
Add a network printer
- Press + Add Printer and choose Network.
- On Windows, press Scan: the agent looks for printers answering on port 9100 on the local network and lists them; tap one to fill the form.
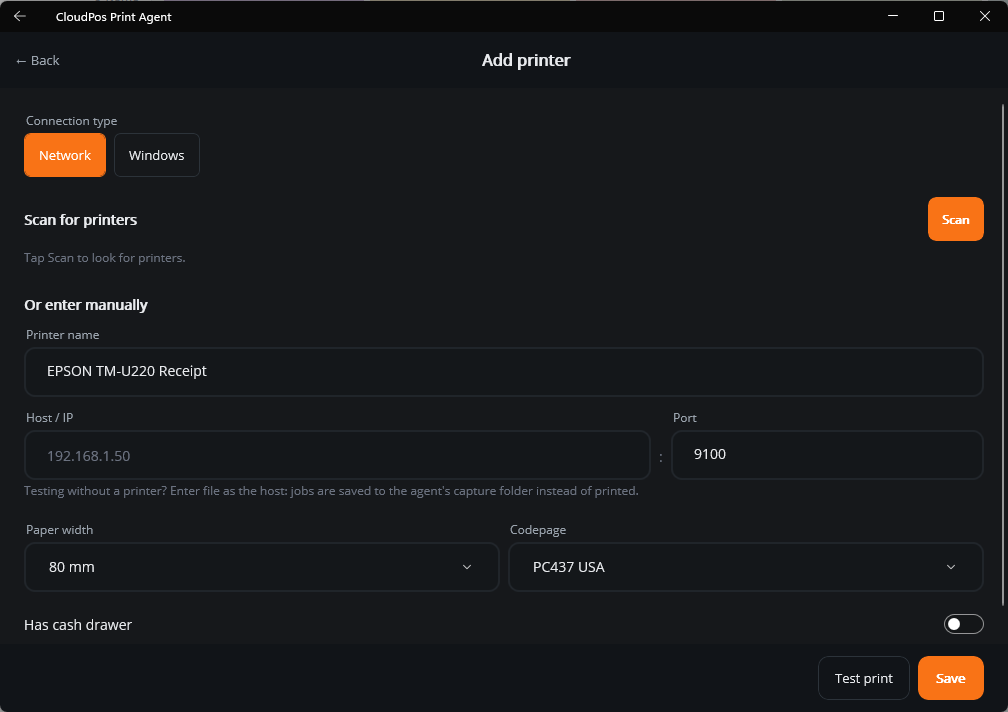
- Otherwise, under Or enter manually, type a Printer name, the printer’s Host / IP, and keep Port 9100 unless the printer’s manual says otherwise.
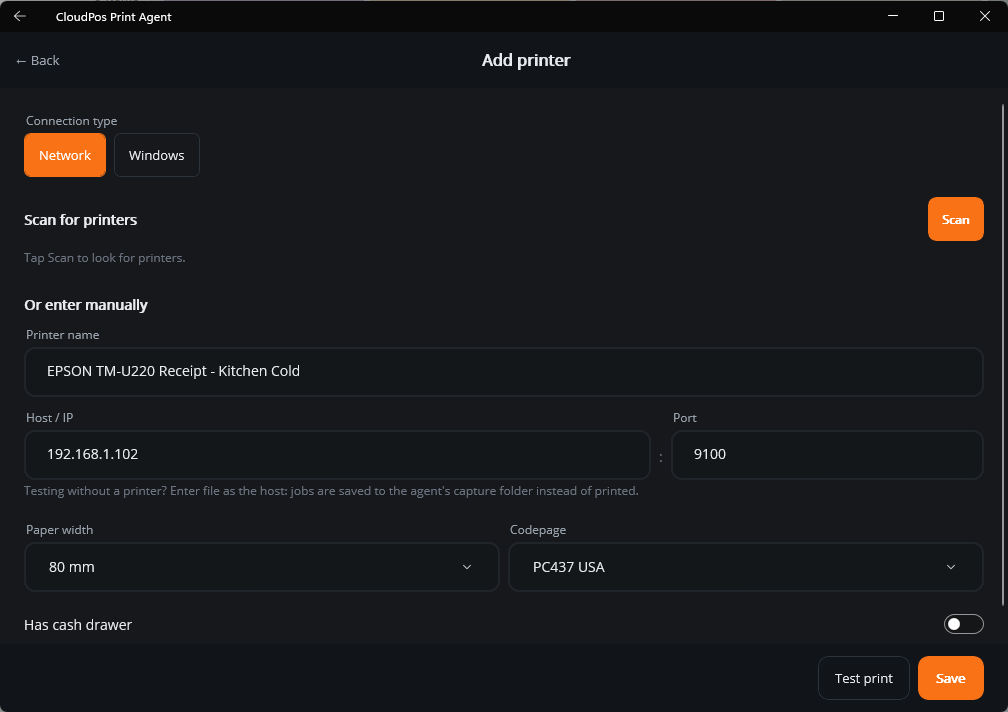
- Set paper width, codepage and cash drawer, Test print, Save.
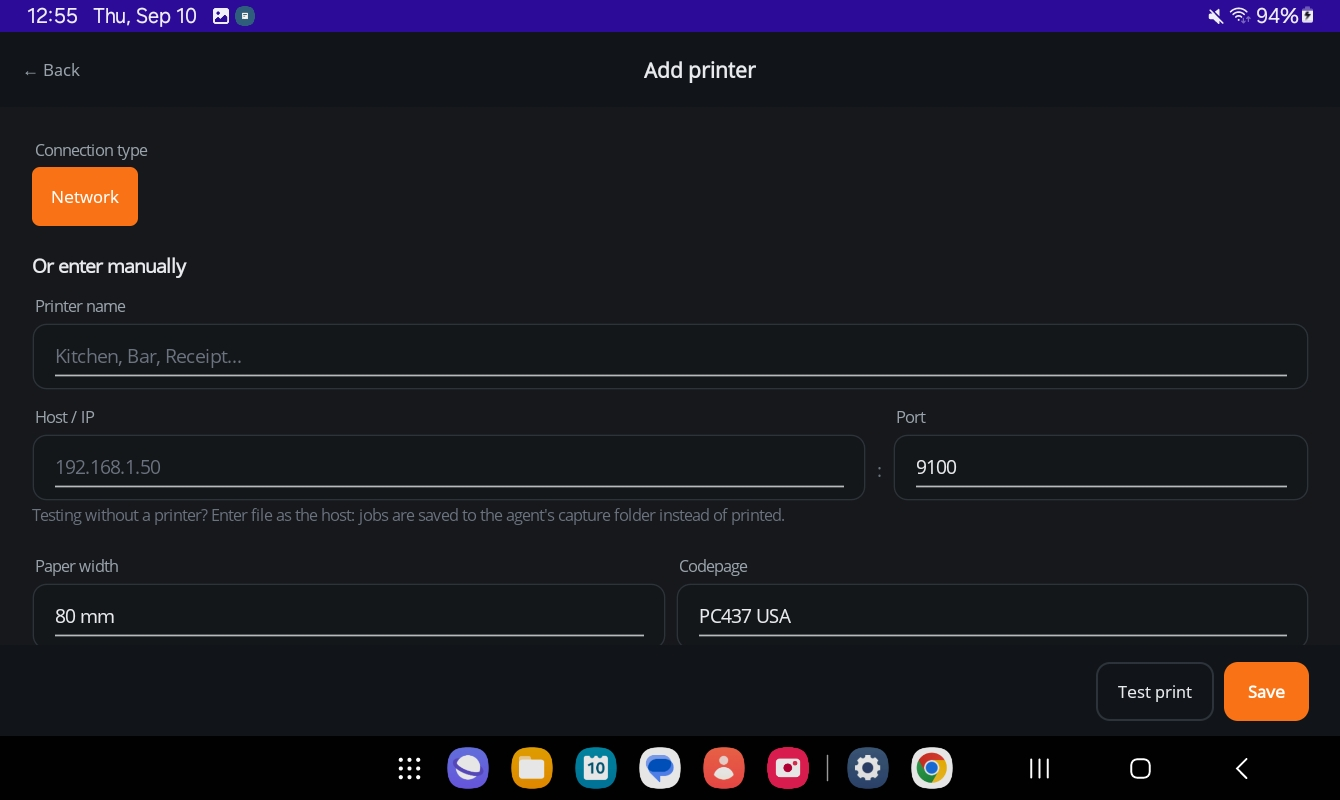
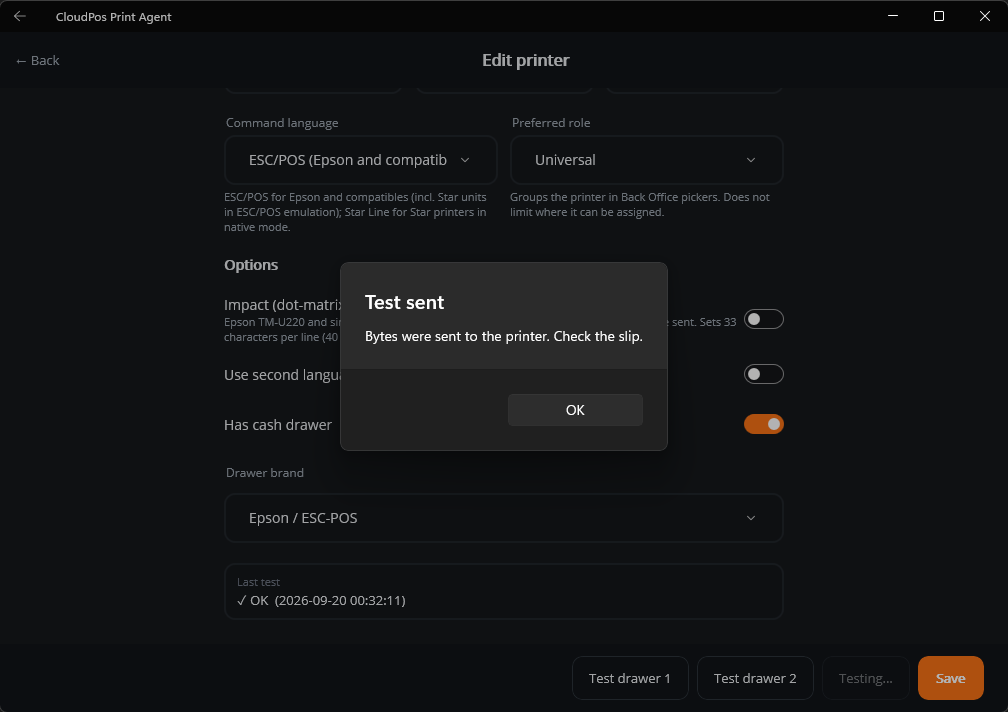
Test print
Test print sends a short slip straight from the agent to the printer, using what is on the screen even before you save. A slip proves the connection, the paper width and the codepage are right. If nothing comes out, the message says why: the address cannot be reached, the Windows printer name does not exist, and so on.
After saving
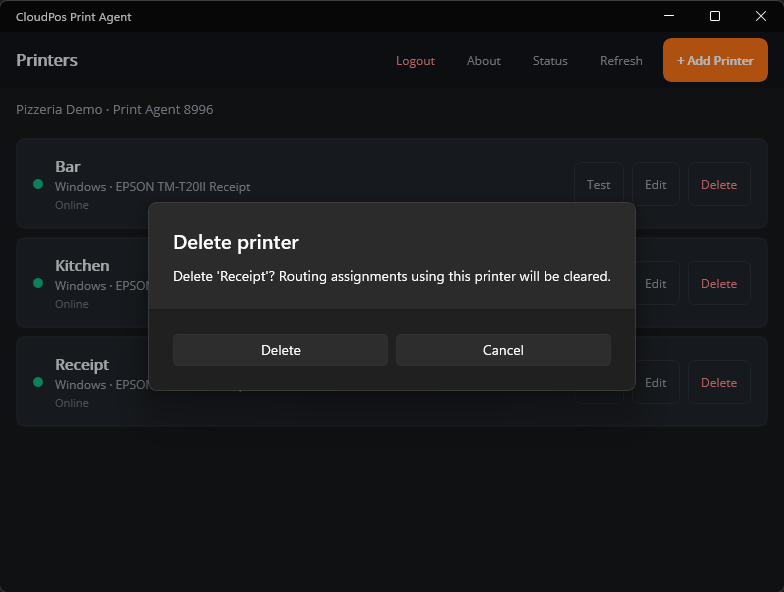
The printer appears in the list. The dot is green once it is Online; amber shows its last test result; grey means it has not been tested. The line under the name shows its connection: Windows · queue name or TCP · address:port.
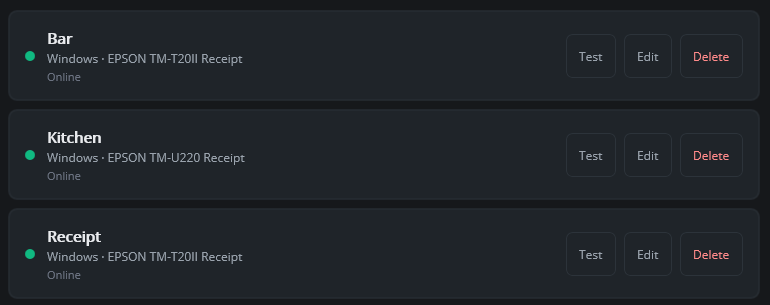
- Test — prints a test slip from the agent with the saved settings, and records the result as the printer’s last test. The slip waits its turn behind any tickets printing on that printer, and a network printer gets a fresh connection for it.
- Edit — changes the name, address and every setting, including the ones not on the Add screen: command language, characters per line, impact printer, preferred role and second language. See Printer settings explained.
- Delete — removes the printer. Every Print Routing row that used it is cleared, so prefer Edit when a printer only changed address or was swapped for another.
Next: route it
A new printer prints nothing until a slot points at it. Open Back Office › Hardware & Printing › Print Routing and choose it in the right rows — see Print routing.