The Meta Pixel is what lets Facebook and Instagram ads report which orders they produced, and lets you show ads to people who visited your ordering site but did not finish. Without it, ad spend is guesswork.
The pixel belongs to your own Meta business account; AmigoPOS only renders it.
1. Create the pixel
- Go to business.facebook.com and open Events Manager. You need a Meta Business account — the one that owns the restaurant’s Facebook page.
- Connect data sources › Web › Meta Pixel, name it after the restaurant, and enter your ordering site address when asked.
- Choose to install the code manually. You are not pasting code anywhere — you only need the ID.
2. Copy the Pixel ID
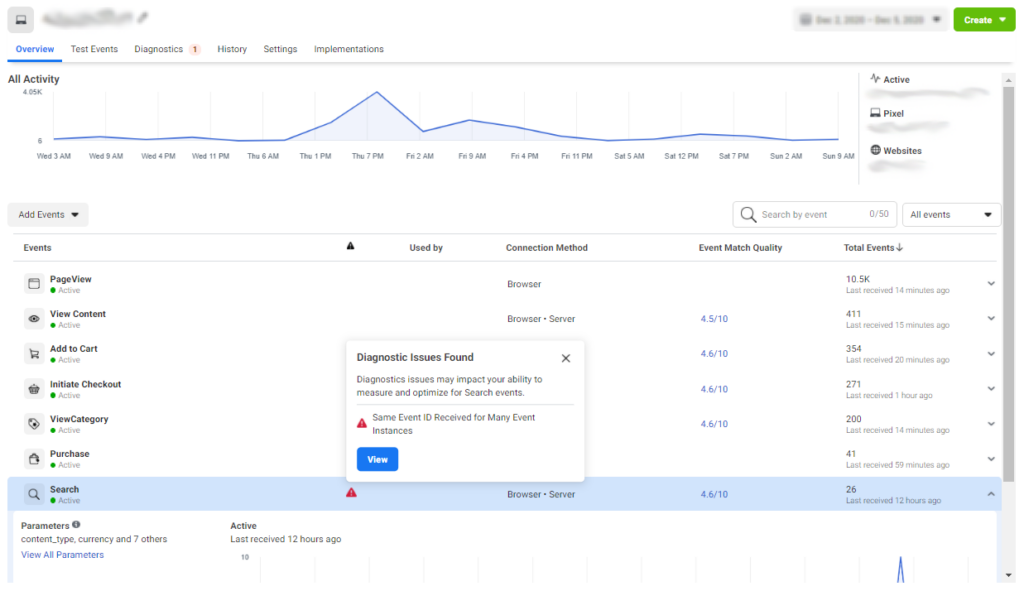
In Events Manager the Pixel ID sits under the data source name: a long string of digits, nothing else.
3. Paste it into the POS
Back Office › Web Orders › Basic Info › Analytics, save, and reload the ordering site.
4. Check it is working
Install Meta’s Pixel Helper browser extension and open your site: it lists the events as they fire. Events Manager also shows them under Test events within a minute or two.
What is measured
- PageView on every page.
- ViewContent when a menu item is opened, AddToCart when it is added.
- InitiateCheckout and AddPaymentInfo during checkout.
- Purchase with the order value and items.
Those are Meta’s standard events, so the ads setup offers them directly: optimise a campaign for Purchase, or build an audience of everyone who fired AddToCart in the last week and never Purchase.