Everything for caller ID is on one page: Back Office › Integrations › Caller ID. Settings are per store; with more than one store, choose the store in the header first.
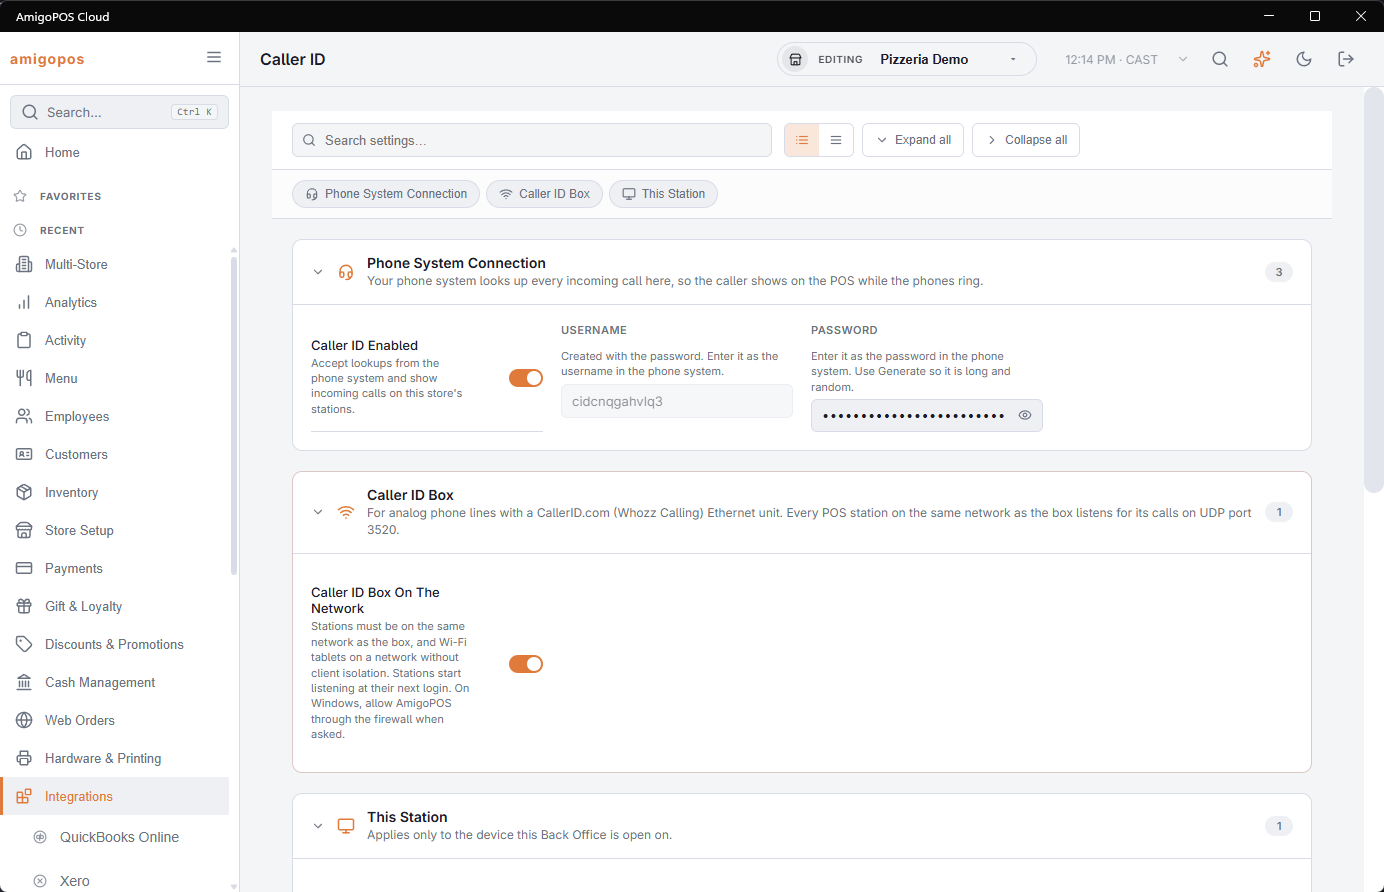
Phone System Connection
- Caller ID Enabled — the master switch. Off, no calls are shown and phone systems are refused.
- Generate Username And Password — creates the store’s Username (it starts with cid) and a long random Password, and copies the password to the clipboard. Your phone system sends these two with every lookup, so they are what you type into FreePBX or 3CX.
- Copy Password — copies the current password again, for example to set up a second phone system.
The username never changes once created; it identifies the store. A CallerID.com box does not use the username or password at all.
The setup panels
Below the settings, FreePBX Setup and 3CX Setup show the exact values to enter on the phone system’s side — host, port, path and the lookup URL for your store. Copy them from there rather than typing them from memory.
Caller ID Box
If the store has a CallerID.com box on its phone lines, switch on Caller ID Box On The Network. See Using a CallerID.com box on analog lines.
This Station
Show Incoming Calls On This Station applies only to the device the Back Office is open on. The same switch is on the register under More › Settings — see Taking a call at the register.
Test Call

Send Test Call rings this store’s registers exactly as a real call would, without a phone system: the banner appears, the call is listed in Recent Calls, and Take Call works. Type a customer’s number to see a matched caller, or leave it blank to use 5551234.
On a call-center seat
The same page is on a call-center seat, for the line of the seat’s own location (the office). A seat shows calls for every store of the business, and it starts listening whenever caller ID is on at any of them — an office with no line of its own needs nothing here to ring for the stores. See The call center’s own hardware.