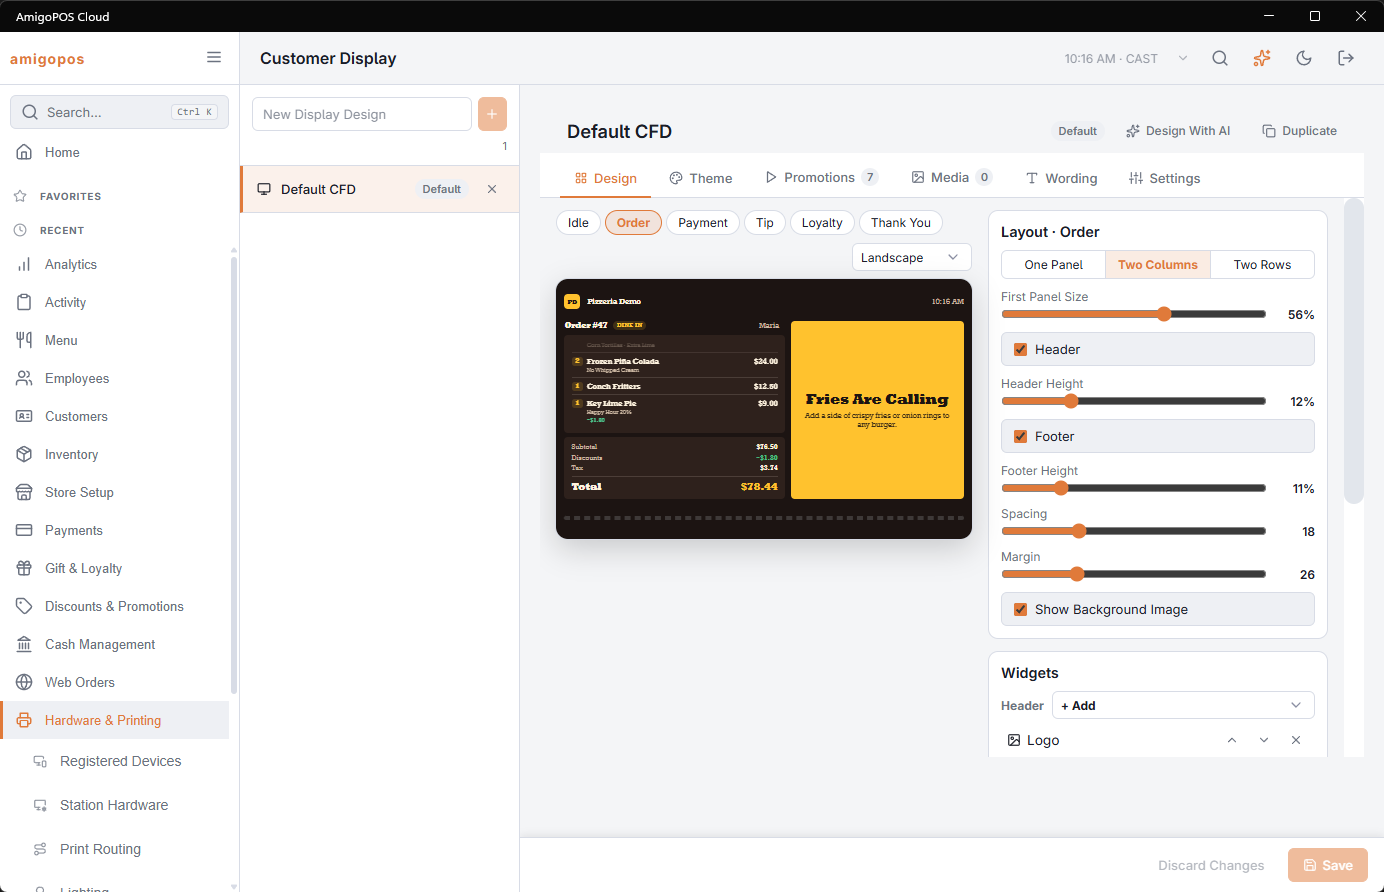
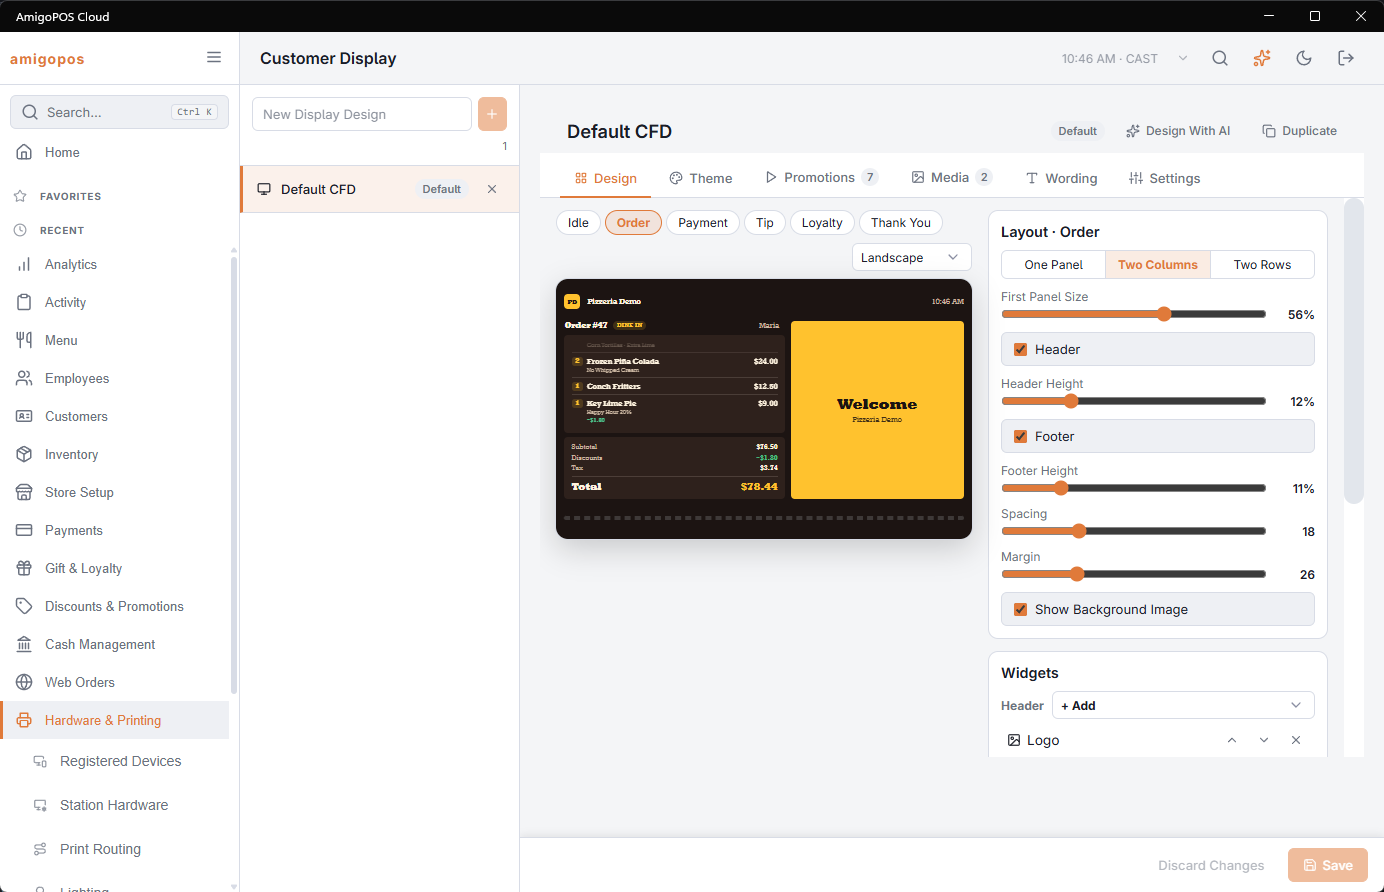
Open Back Office › Hardware & Printing › Customer Display. The list on the left holds the store's designs; the tabs on the right edit the one you select.
Designs
- New design: type a name at the top of the list and tap +. It starts from the built-in design.
- Default: used by every station that has no design of its own. Make Default sets it.
- Duplicate copies the saved design (save your changes first).
- Save sends your changes to the displays; Discard Changes goes back to the last saved version. Nothing reaches a display until you save.
Screens
A display moves through six screens: Idle (between sales), Order, Payment, Tip, Loyalty and Thank You. The chips above the preview switch between them. Landscape, Widescreen and Portrait preview different screen shapes, and on Payment you can preview each step (Card Reader, Processing, Approved…).
Layout
Each screen has One Panel, Two Columns or Two Rows, with an optional Header and Footer. Set their sizes, the spacing and the margin. Show Background Image decides whether the theme's background picture shows on that screen.
Widgets
Panels hold widgets from top to bottom (the header and footer from left to right). + Add adds one, the arrows reorder them and × removes one. Tap a widget in the preview or in the list to edit it: Fill Space lets it take the free space (1×, 2×, 3× share it), Move To moves it to another panel, and its own settings follow. See Widgets reference.