The colour a ticket turns is a store decision, not a screen decision. Two numbers drive it: after how many minutes an order is aging, and after how many it is late. Every display — station or expeditor, app or browser — colours from the same numbers.
Where to set them
- Open Back Office › Store Setup › Order Entry Screen and pick the Kitchen Display tab.
- Under Ticket Timers, enter the store-wide Warning After (Minutes) (1–240, 5 to start) and Late After (Minutes) (1–480, 20 to start). Late tickets pulse.
- Each box saves when you leave it; there is no Save button.
Per order type
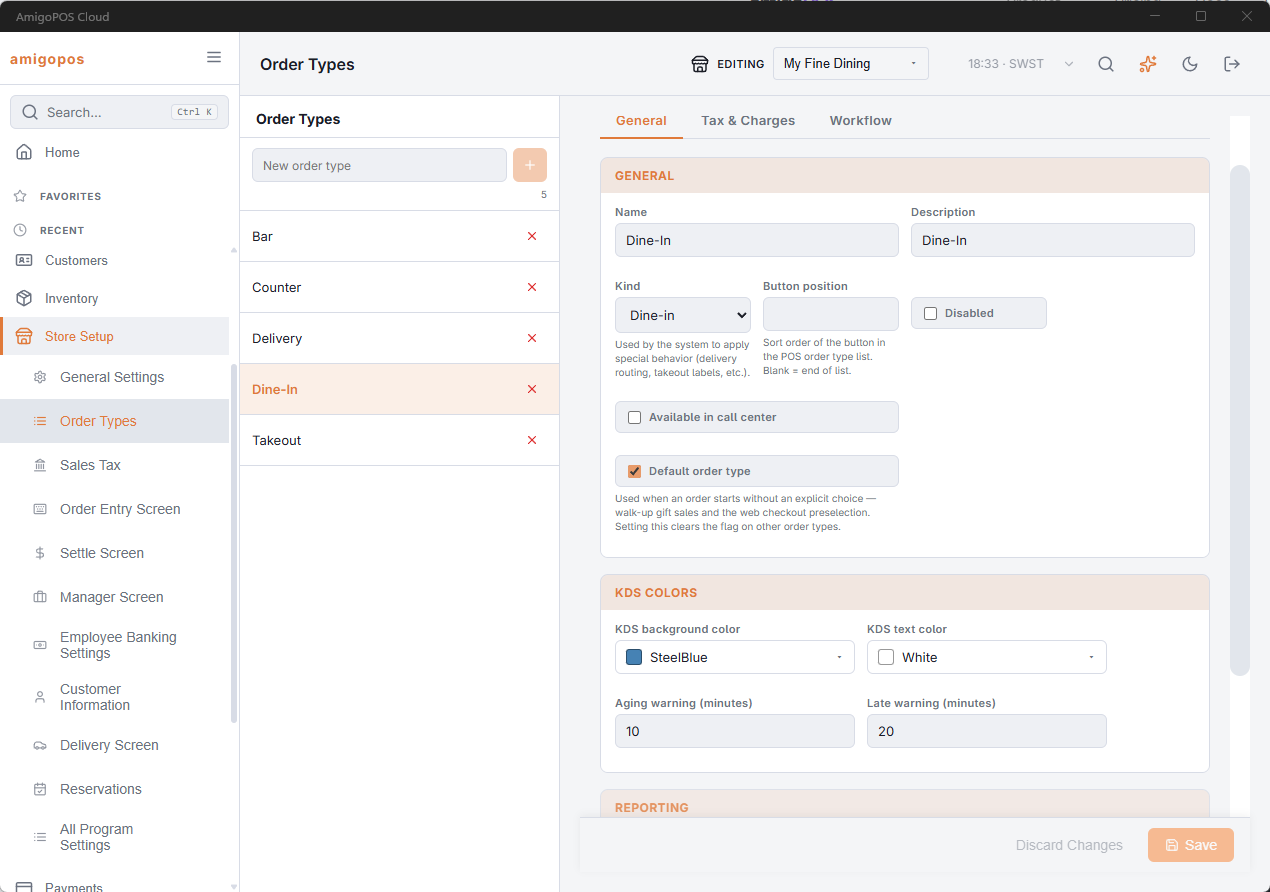
A delivery order can afford more time than a bar tab, and a scheduled pickup is not late until its due time. Each order type can carry its own aging and late minutes, set on the order type itself under Store Setup › Order Types. Leave them blank to use the store numbers.
What the numbers mean
- They count from the moment the order was sent to the kitchen, measured on the server.
- They drive the timer pill colour on the card and the Late only filter.
- They also define late for the Kitchen Performance dashboard, so a store that changes them changes what its reports call late from that moment on.
Timer Colours
The same tab sets the colours: Warning Background and Warning Text (#f0ad4e on #1a1a1a to start), Late Background and Late Text (#c0392b and #ffffff). Each takes a hex value or a colour name. A new ticket uses a neutral grey.
Per-display timers
A display can override these with its own Warning After and Late After minutes (under ⚙) — useful on a bar screen, where drinks should turn red in minutes. Store Setting keeps the rules on this page. Scheduled orders are timed from their kitchen time.