Open Back Office › Hardware & Printing › Lighting and tap Add Device under Relay Devices.
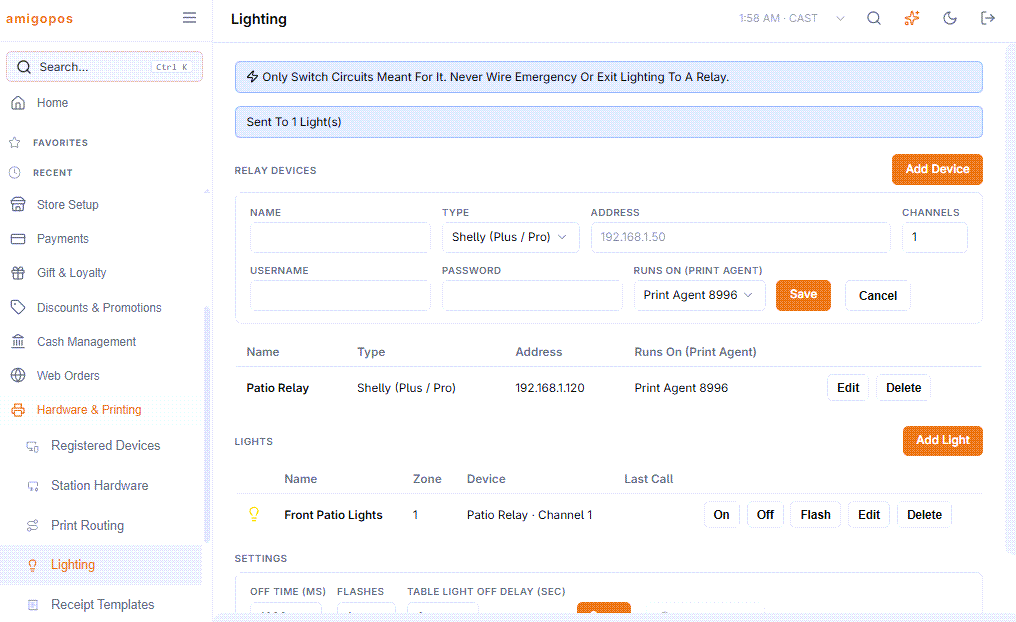
The fields
| Field | What to enter |
|---|---|
| Name | Anything staff will recognise: Pool room relay, Bar ceiling. |
| Type | Shelly (Plus / Pro), Shelly (Gen 1), Tasmota or Custom (URLs). See Choosing relays. |
| Address | The device’s local address, for example 192.168.1.50. Not asked for Custom devices, whose addresses are on each light. |
| Channels | How many relays the device has (1 to 32). Not asked for Custom. |
| Username / Password | Only if the device has a login set. Leave blank otherwise. |
| Runs On (Print Agent) | The store’s Print Agent that sends this device its commands. It must be on the same network. If the store has one agent, it is chosen for you. |
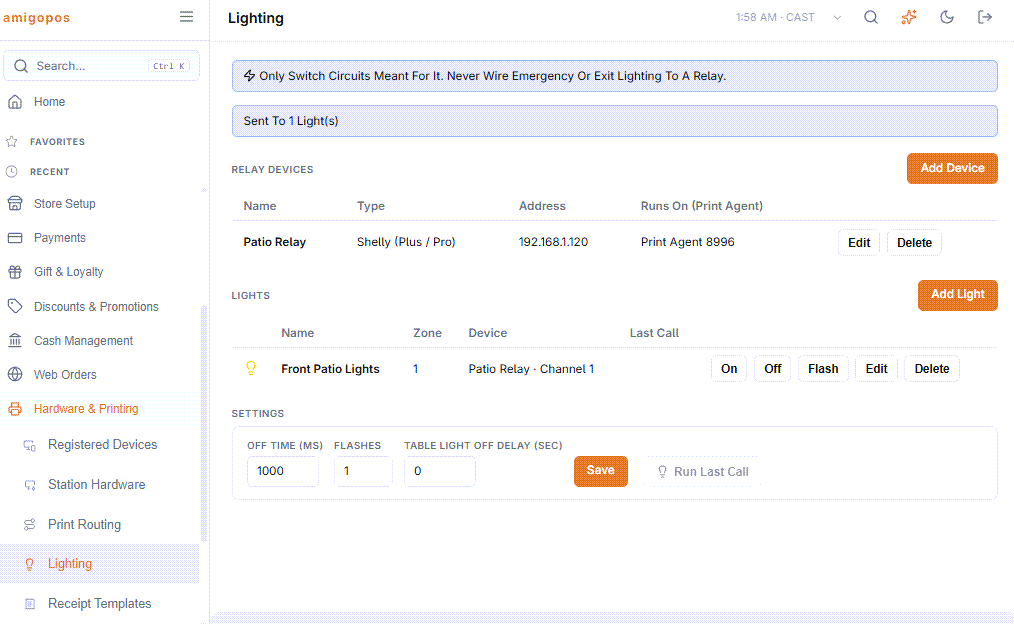
Save. The device appears in the list with its type, address and agent.
Things to know
- A device with no Print Agent shows No Print Agent in red: its lights cannot be switched until you choose one.
- Deleting a device deletes its lights too, after a confirmation.
- Passwords are stored for the store and sent only to its Print Agent.
- Editing, adding and deleting devices needs Back Office Config or manager access.
Set the device’s address as a reservation in the router first. A relay that changes address after a power cut silently stops answering.