A USB barcode scanner makes item lookup instant — scan a SKU, the item lands on the order. CloudPos works with any scanner that operates in keyboard-wedge mode (the near-universal default): the scanner types the barcode like a keyboard and the register captures it.
Setup
- Plug the scanner into the station. No driver is needed for keyboard-wedge units.
- Confirm the scanner sends an Enter/CR suffix after each code — most ship that way; if not, the scanner’s manual has a configuration barcode to enable it. Without the suffix, scans run together.
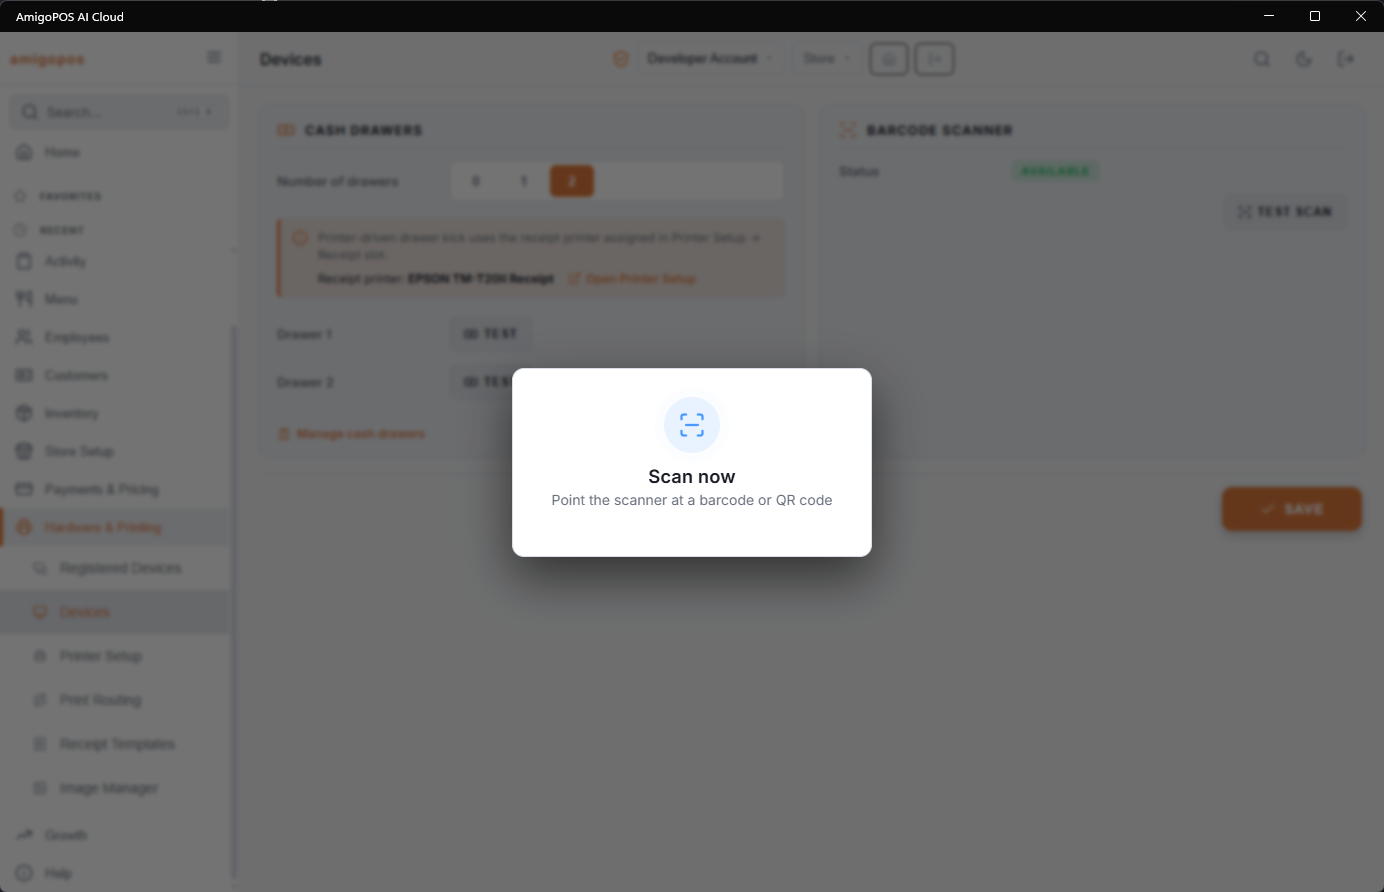
- Verify with Test scan on Back Office › Hardware & Printing › Station Hardware, opened on that register: scan anything and the message shows Scanned: and the value. Test scan works even when the scanner Status reads Not available. See Station hardware (cash drawers and scanner).
- To see what a code would ring up as, use More › Scanner Test at the register. Each scan is listed with the code and the item it matches; nothing is added to the order.
Using it
- With an order open, just scan — no button needed. The item is matched by SKU/barcode and added; unknown codes report as not found rather than adding a wrong item.
- Price-embedded (GS1) labels from scales and prepack stations are supported — the embedded price and weight are honored. See Scanning barcodes and price-embedded (GS1) labels for label formats.
- Scanners also work anywhere a code is asked for: gift and loyalty card entry, printed coupon redemption.
Troubleshooting
- Scan types into a text box instead of adding an item — a field had keyboard focus; tap the order area and rescan.
- Item not found — the barcode isn’t on any menu item’s SKU; add it in the menu-item editor.
- Nothing at all — try the scanner in a text editor; if it types there but not in CloudPos, run More › Scanner Test and check station focus. If it types nowhere, it’s cable/port.