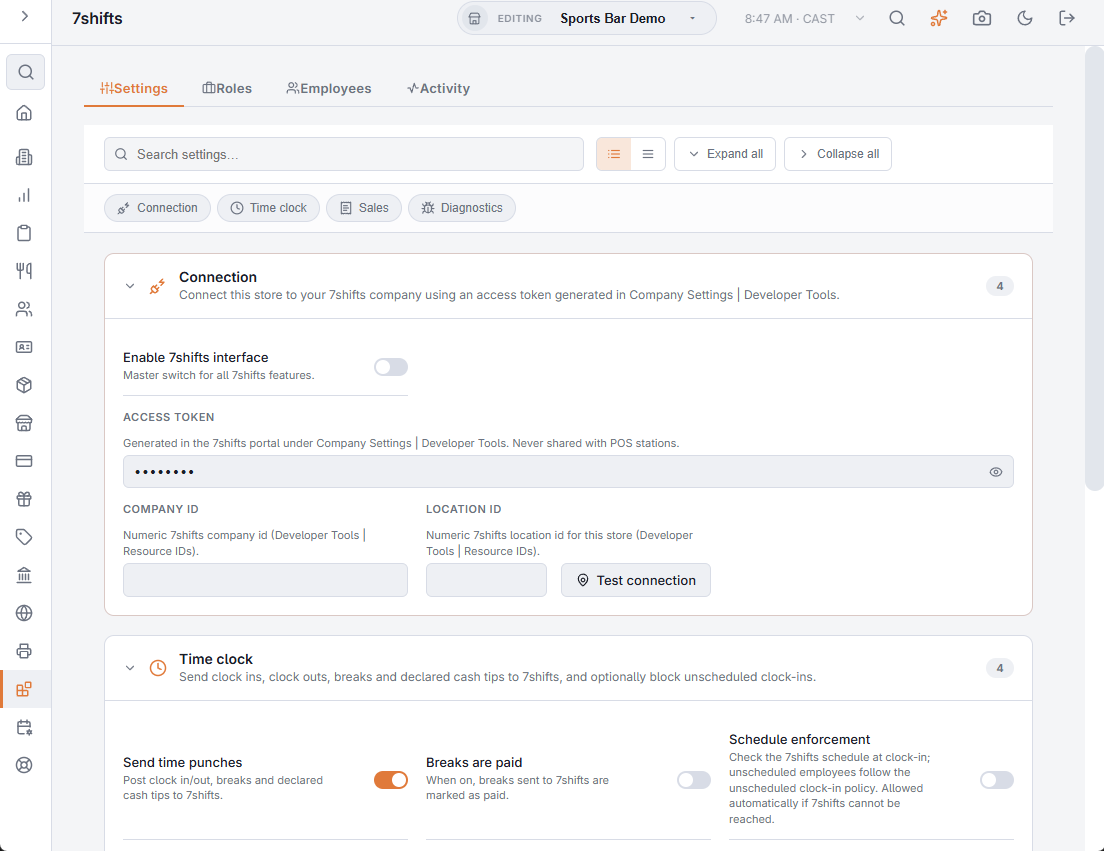
Back Office › Integrations › 7shifts connects the store to its 7shifts location. Hours worked and sales flow from the POS to 7shifts, POS jobs and employees are matched to 7shifts roles and users, and the 7shifts schedule can be checked when someone clocks in. The page has four tabs: Settings, Roles, Employees and Activity.
What moves
| What | Direction | When |
|---|---|---|
| Time punches, breaks and declared cash tips | POS → 7shifts | At clock in, clock out, breaks, time sheet edits and tip declarations |
| Sales receipts | POS → 7shifts | When an order is saved, settled, changed or voided |
| Jobs and employees | POS → 7shifts | When a job or employee is saved, and from the Roles and Employees tabs |
| Schedule | 7shifts → POS | Checked at clock-in, when Schedule enforcement is on |
How it behaves
- Nothing waits for 7shifts. Clock actions and orders finish on the POS first. What goes to 7shifts is put in a queue and sent by a background service; a failed request is tried again for about eight hours. See the Activity tab.
- Links come first. A punch is sent only for an employee linked to a 7shifts user, clocked in on a job mapped to a 7shifts role.
- Employees follow the POS. With the integration on, saving an employee links them to a matching 7shifts user, or creates them in 7shifts once they have an email address and a mapped job. An employee made inactive in the POS is deactivated in 7shifts. Saving a job matches it to a 7shifts role, or creates one.
- The schedule check fails open. If 7shifts cannot be reached at clock-in, the clock-in goes ahead.
Before you start
- An active 7shifts account with a location for this store.
- An access token, generated in 7shifts under Company Settings › Developer Tools.
- The numeric company ID and location ID, from Developer Tools › Resource IDs.
- An email address on each employee who should be in 7shifts — 7shifts requires one.
Then follow Connecting 7shifts and Linking jobs and employees.