Back Office › Menu › Menu Setup › Menu Creator builds a POS menu from photos or scans of a printed menu. The AI reads the pages and proposes categories, items, prices, sizes and modifier groups. You review and correct everything on screen, and nothing is written to the store until you import.
1. Upload the menu pages
- Choose Add Pages and pick photos or scans of the printed menu: JPEG, PNG, WebP, GIF or PDF, up to 8 MB per file and 10 pages in all. Each page appears under Uploaded Pages. Clear All removes them and starts again.
- Shoot phone photos straight on, in good light, so the smallest print is readable.
- Hints For The AI (Optional) is for what the pages do not say: the currency, a page to skip, the kind of restaurant.
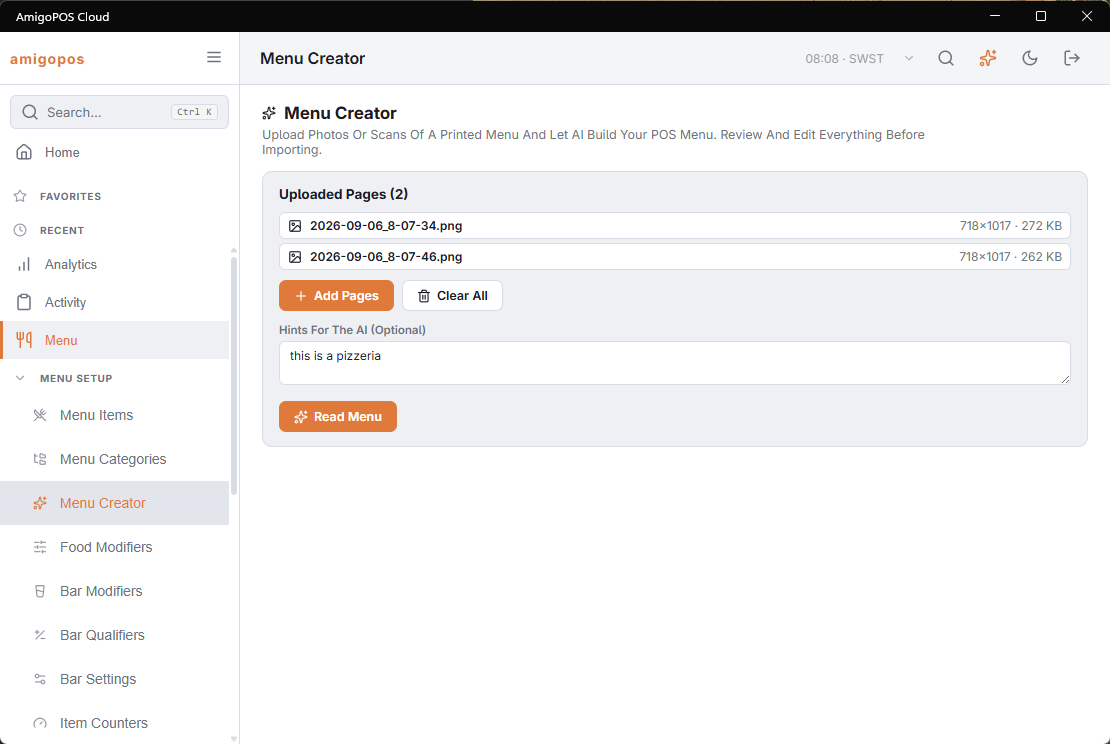
2. Read the menu
Choose Read Menu. A menu of several pages can take a minute or two; leave the page open. The proposed menu then appears under Review And Edit. Each reading counts as five AI actions; see AI usage, limits and your monthly allowance.
The Check These box at the top lists what needs a look: items with no price found (they are set to 0), sizes or modifier groups an item names that do not exist, modifier groups the AI inferred, groups not attached to any item, and notes from the AI about text it could not read. Work through it first.
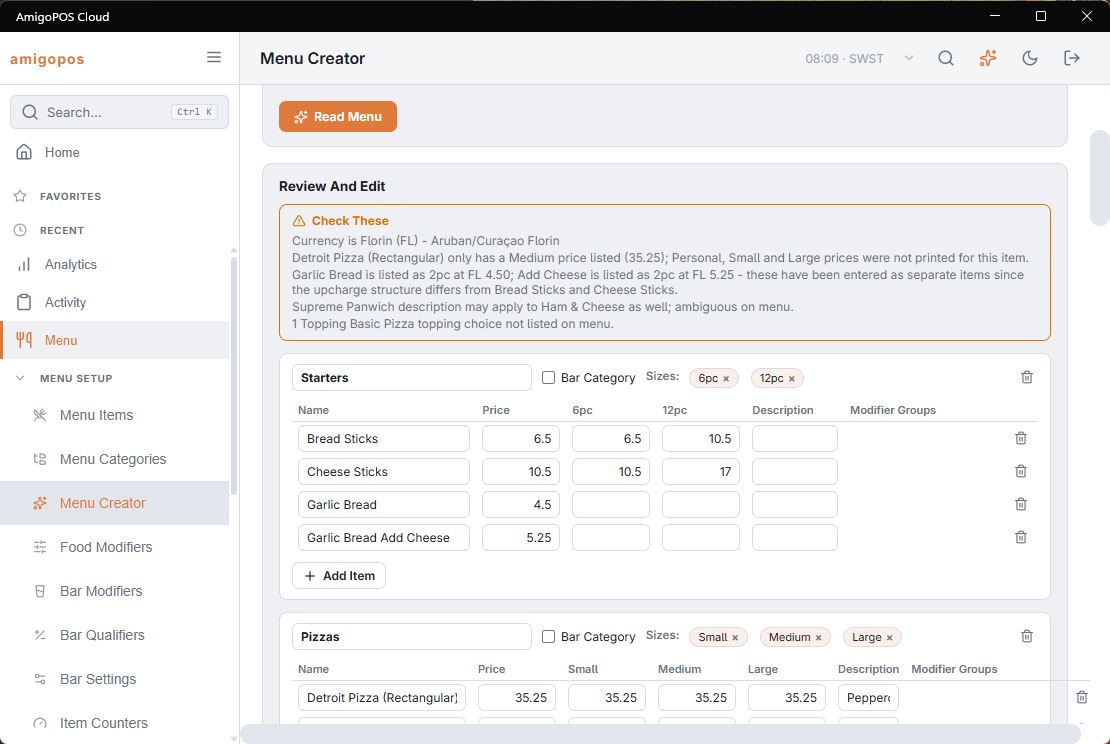
3. Review and edit
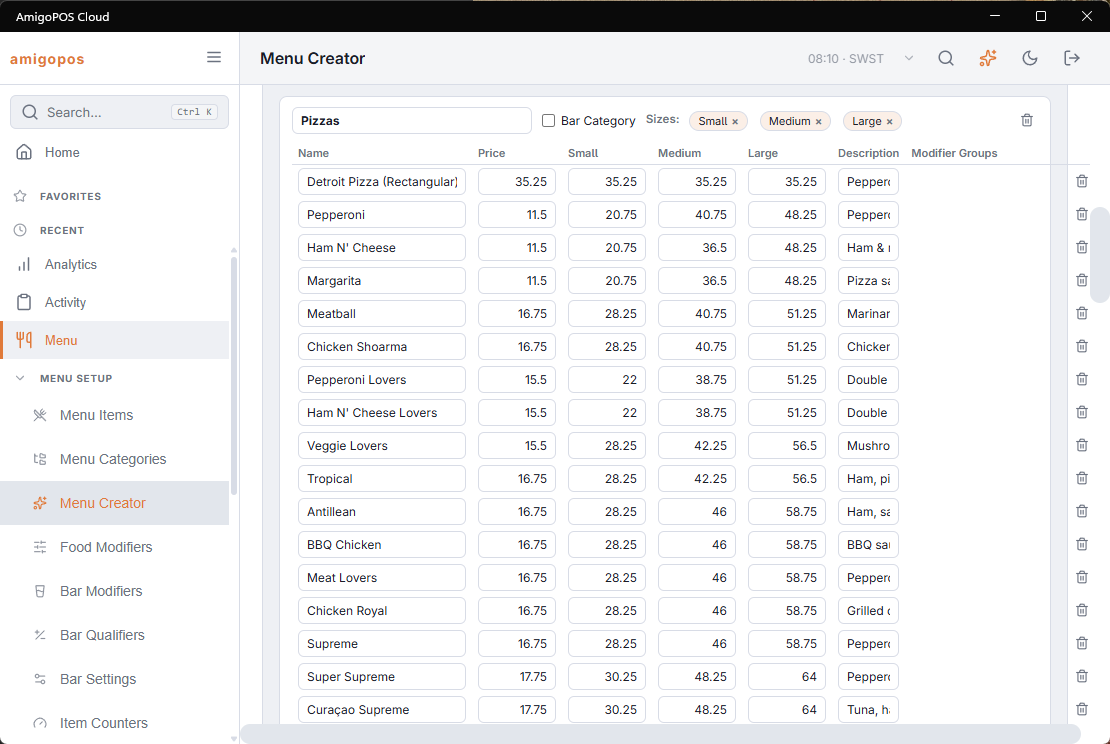
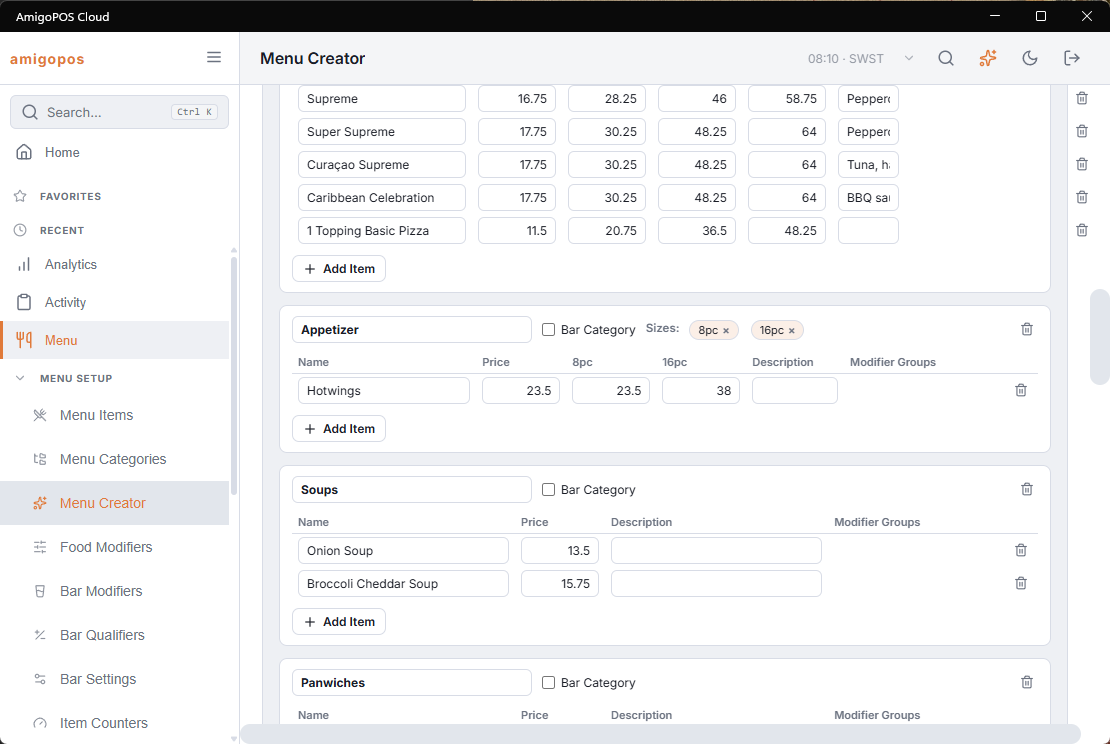
- Each category shows its items in a table. Edit the category name, and each item’s Name, Price and Description, in place.
- Where the menu sells items in sizes (Small/Large, Glass/Bottle), the sizes appear as chips under Sizes, and each size has its own price column. The × on a size chip removes that size from the whole category.
- Tick Bar Category on beer, wine and cocktail sections so they become bar categories. Their sizes become the category’s upcharges.
- Add Item and Add Category add rows; the delete icons remove an item or a whole category.
4. Attach modifier groups to items
The Modifier Groups panel below the categories defines each proposed group. A group does nothing until it is attached to the items that offer those choices. The chips in an item’s Modifier Groups column are those attachments, and they are what the import writes to the store.
- The AI attaches groups where the menu implies them: every pizza gets Toppings, every salad gets Dressings. Check a few rows in each category.
- To attach a group, pick it from the + list in the item’s row; the × on a chip detaches it. Renaming a group in the panel renames its chips too, and deleting a group removes its chips.
- For each group, choose Pick One, Pick Many or Optional, tick Required if needed, and set each modifier’s name and price. Add Modifier adds one.
- Groups the AI made up from wording like “choice of side” carry an Inferred badge. Check their options and prices with the kitchen.
5. Import
The line beside Import Menu counts the categories and items to be imported.
- Leave Replace The Existing Menu unticked to add the new categories beside what the store already has.
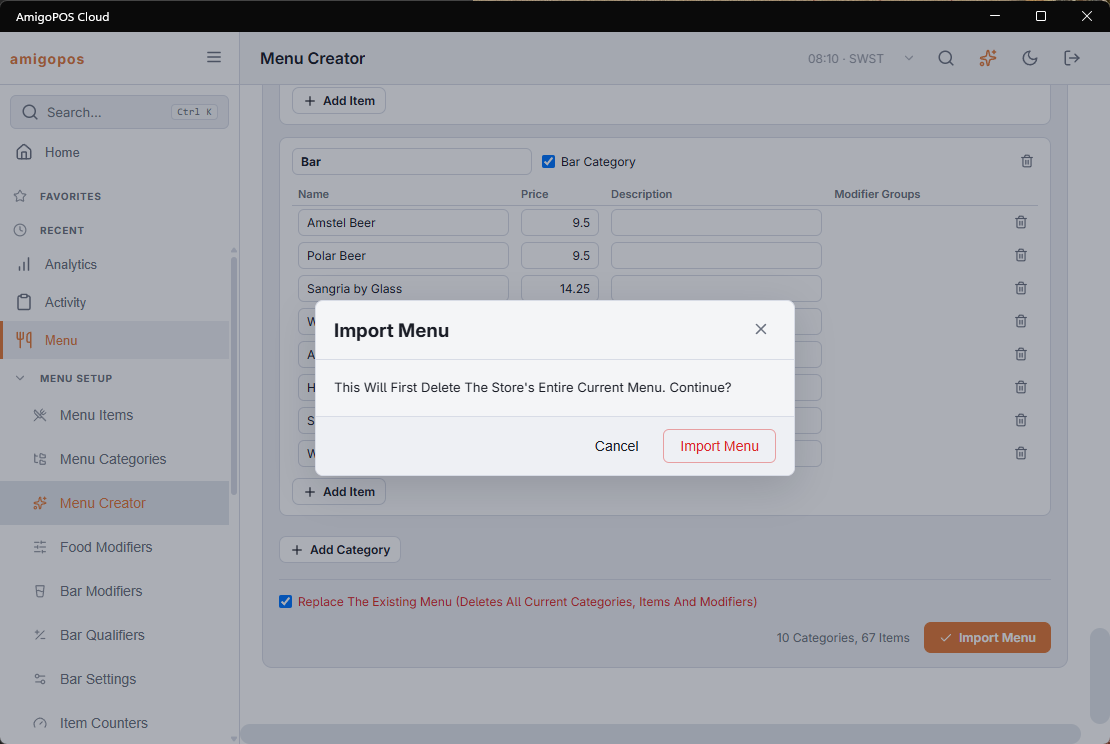
- Tick it to delete the store’s current menu first: categories, items, upcharges, food modifiers and their levels, bar modifiers and qualifiers, recipes, and the price rules and item counters set on the old items and categories. Use it on a new store or for a full rebuild.
- Choose Import Menu and confirm. The import is one step: it completes in full or changes nothing. When it is done the page says how many rows were written; Start Over clears the page.
What the import sets up
- Each item’s description becomes its Item description.
- Prep stations are assigned by category: bar categories go to Prep 3; salads, desserts, soups and beverages to Prep 2; everything else to Prep 1.
- Categories and items keep the order they have in the review, after the store’s existing categories. Category button colors rotate through a set of colors.
- Items get the tax rate with ID 1 (shown as ID:1 in the tax rate list): food items on the item, bar items through their category’s Bar Menu Tax Rate. Change it afterwards if your store uses another rate.
- Where a category, item or modifier name matches a picture in the built-in set, it gets that button image, added to Button images while the library has room. If the store has not chosen how buttons look, the register switches to Text + Image.
Fine-tune anything afterwards in Menu items (prices, SKUs, buttons) and Categories (food groups).