The Uber Eats integration connects one CloudPos store to one Uber Eats store. Once connected it does five things:
- Publishes your menu to Uber Eats, including categories, prices, modifiers, opening hours and, in the US, the tax label Uber uses to charge sales tax.
- Receives orders from Uber Eats straight into the POS as tickets, with prep tickets and receipts printing exactly as they do for any other order.
- Lets staff manage those orders at the register — accept or deny, cancel, mark ready or move the ready time — from the Uber Eats Order Manager on the POS top bar.
- Keeps availability in step — when an item’s counter reaches zero in the POS it is marked sold out on Uber Eats, and the store can be paused or its prep time changed from Back Office.
- Pulls payout reports so you can reconcile what Uber paid against what the POS recorded.
Before you start
- An Uber Eats store that is already trading, or a test store provided by Uber.
- Sign-in details for the Uber account that owns that store — you will be asked to log in during setup.
- Weekly opening hours set for the store. The menu cannot be published without them.
- An order type set aside for Uber Eats orders, and a tender to settle them to.
How it fits together
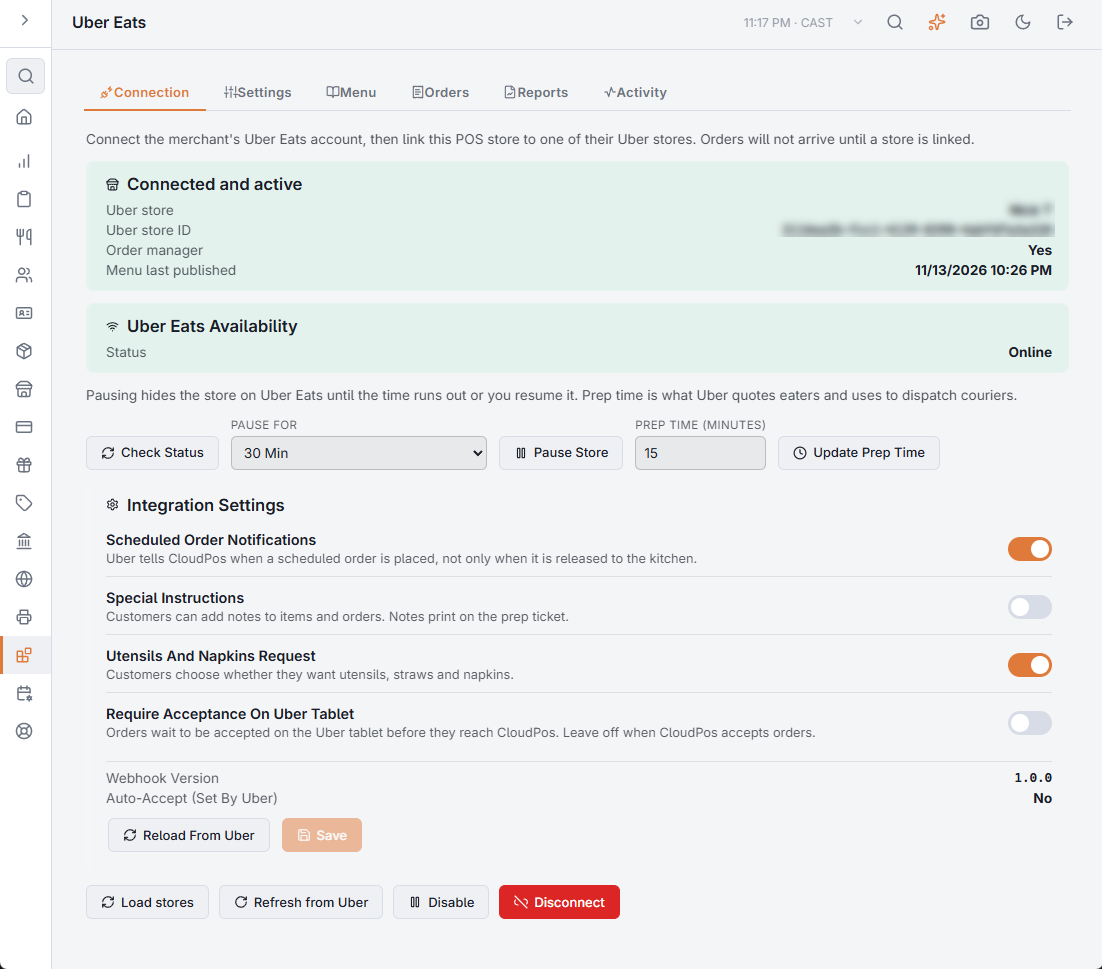
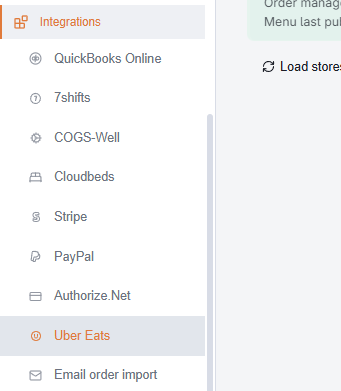
Setup lives on one page: Back Office › Integrations › Uber Eats. The tabs run left to right in roughly the order you will use them.
- Connection — link this POS store to an Uber store, see whether the store is online, pause it, set its prep time, and choose the integration settings Uber holds for the store. Nothing else works until a store is linked. See Connecting a store to Uber Eats.
- Settings — how orders are handled and what gets published. See Uber Eats settings.
- Menu — preview and publish the catalog, and set tax labels. See Publishing your menu to Uber Eats.
- Orders — every Uber order this store has received and what happened to it, with an Uber Status button that shows Uber’s own record of the order.
- Reports — payout and performance reports from Uber.
- Activity — the queue of requests going out to Uber, the log of every call and its answer, and the notifications Uber sent. See Checking what Uber received.
At the register, the Uber Eats button on the POS top bar opens the Order Manager. See The Uber Eats Order Manager.
What Uber controls, and what you control
Some things are decided on Uber’s side and cannot be changed from CloudPos:
- Whether Uber accepts orders on the store’s behalf. The Connection tab shows it as Auto-Accept (Set By Uber).
- Commission, delivery fees and what the eater is charged in total.
- Whether the store appears in search results for a given address.
If something looks wrong on the marketplace and nothing in Back Office explains it, it is usually one of the items above. Your Uber Eats partner manager is the right contact.