Before a device can take orders it must be authorized — joined to one of your stores. It is done once per device.
Authorizing with an activation code
- In Back Office › Hardware & Printing › Registered Devices, choose the store and what the device will be, and press Generate Code.
- Launch the app on the new device and type the code. A code is good for 15 minutes and for one device.
- Give the device a name. Name it for where it is — Bar, Patio, Front — so it is easy to pick out later.
The code already carries the store and the kind of device, so nobody has to sign in on the new device. See Activation codes and device limits for the details and for what the store’s plan allows.
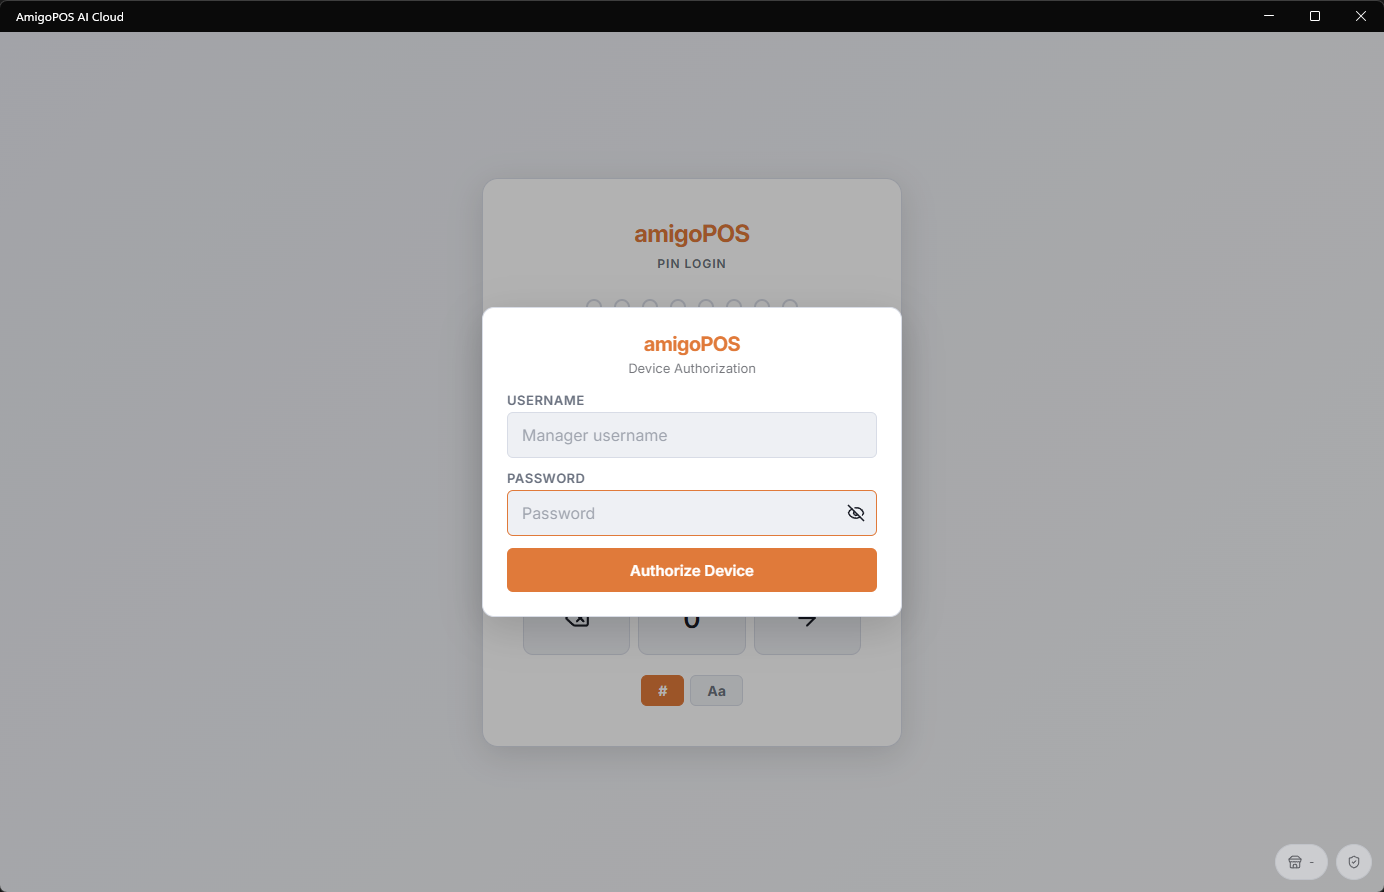
Authorizing by signing in
When there is no Back Office to make a code with — the first device of a new store, for example — sign in on the device’s authorization screen with a manager username and password, select the store (multi-store accounts only) and pick the station, so drawers, printers and reports know which physical register this is.
What kind of device it is
- POS station — the full register: order entry, payments, drawers.
- Call center seat — the phone-order workflow: customer lookup first, store routing, no local drawer.
- Kitchen display — the KDS ticket screen; see Connecting a KDS display.
- Print agent — the helper that drives the printers; see Activating an agent for the right store.
- Customer display — the customer-facing second screen, paired to its register; see Pairing a separate display.
The kind is decided when the code is generated. A register can later be switched between POS station and call center seat, but only in Back Office, where the store’s plan is checked; the register shows its mode and cannot change it. See POS station or call center seat.
Every device that has joined is listed in Registered Devices: every device on your account.